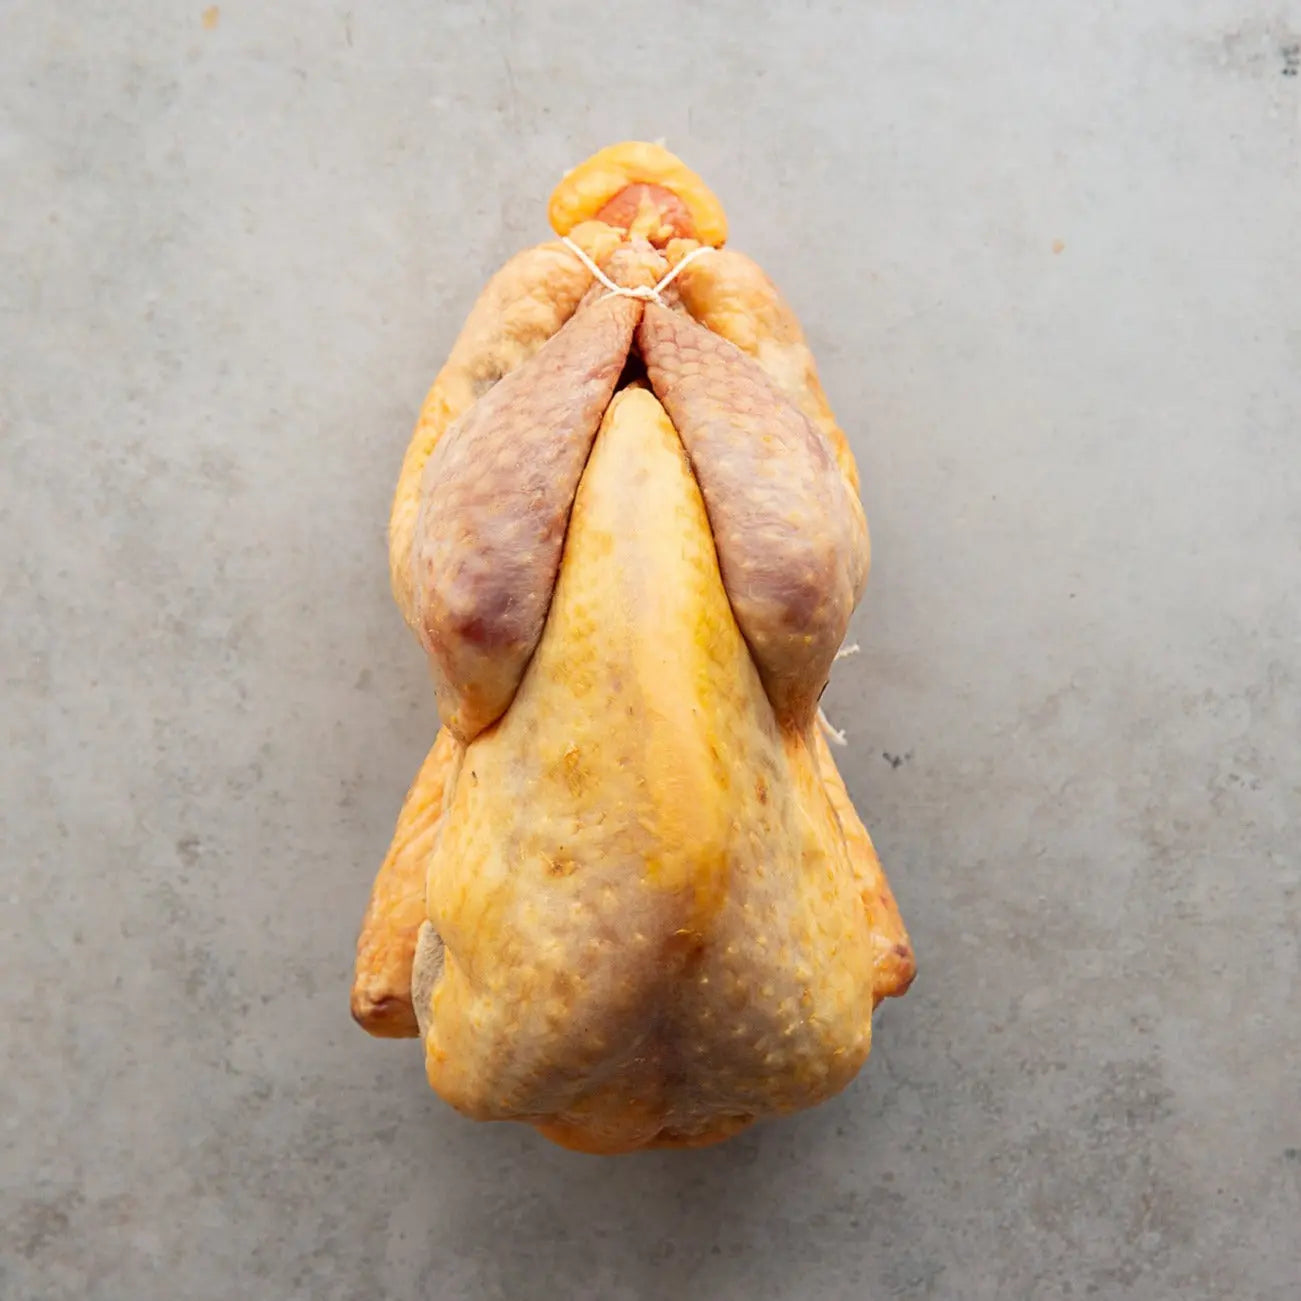
POULET LANDES ARNAUD TAUZIN
Preparation & Tips FOR GETTING THE BEST OUT OF THIS AMAZING POULTRY
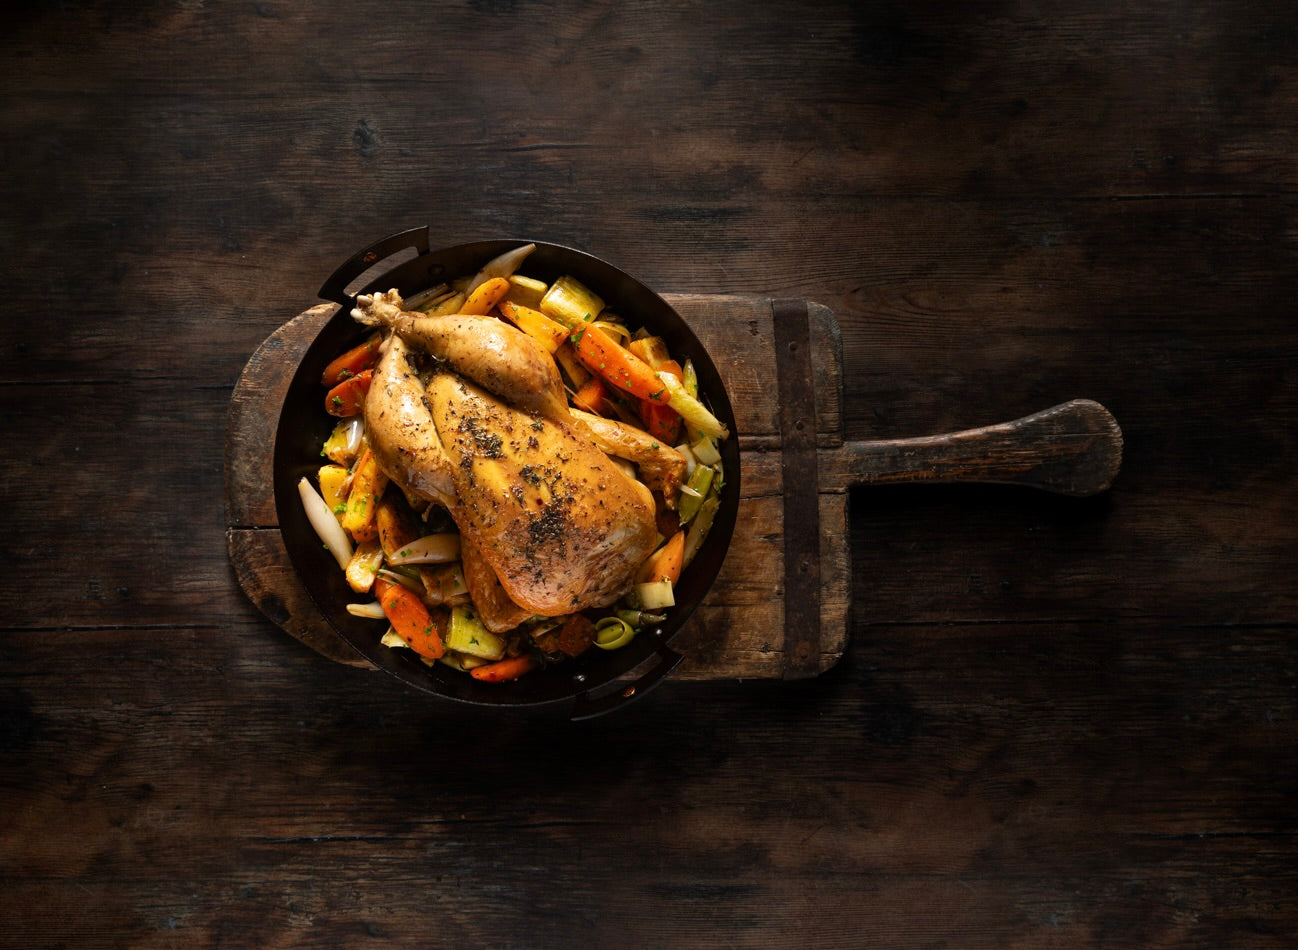
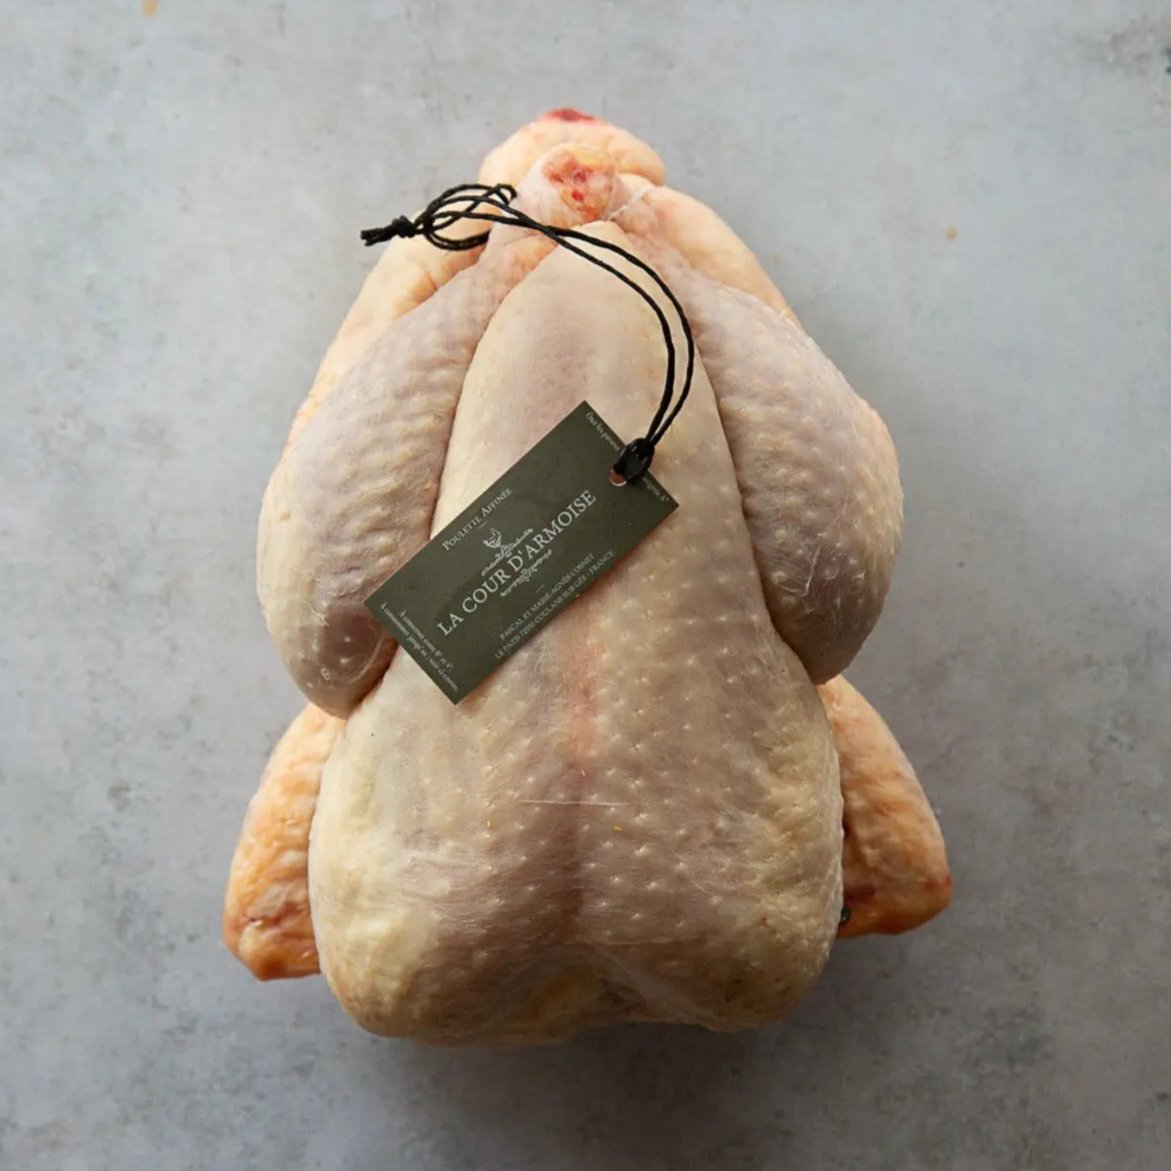
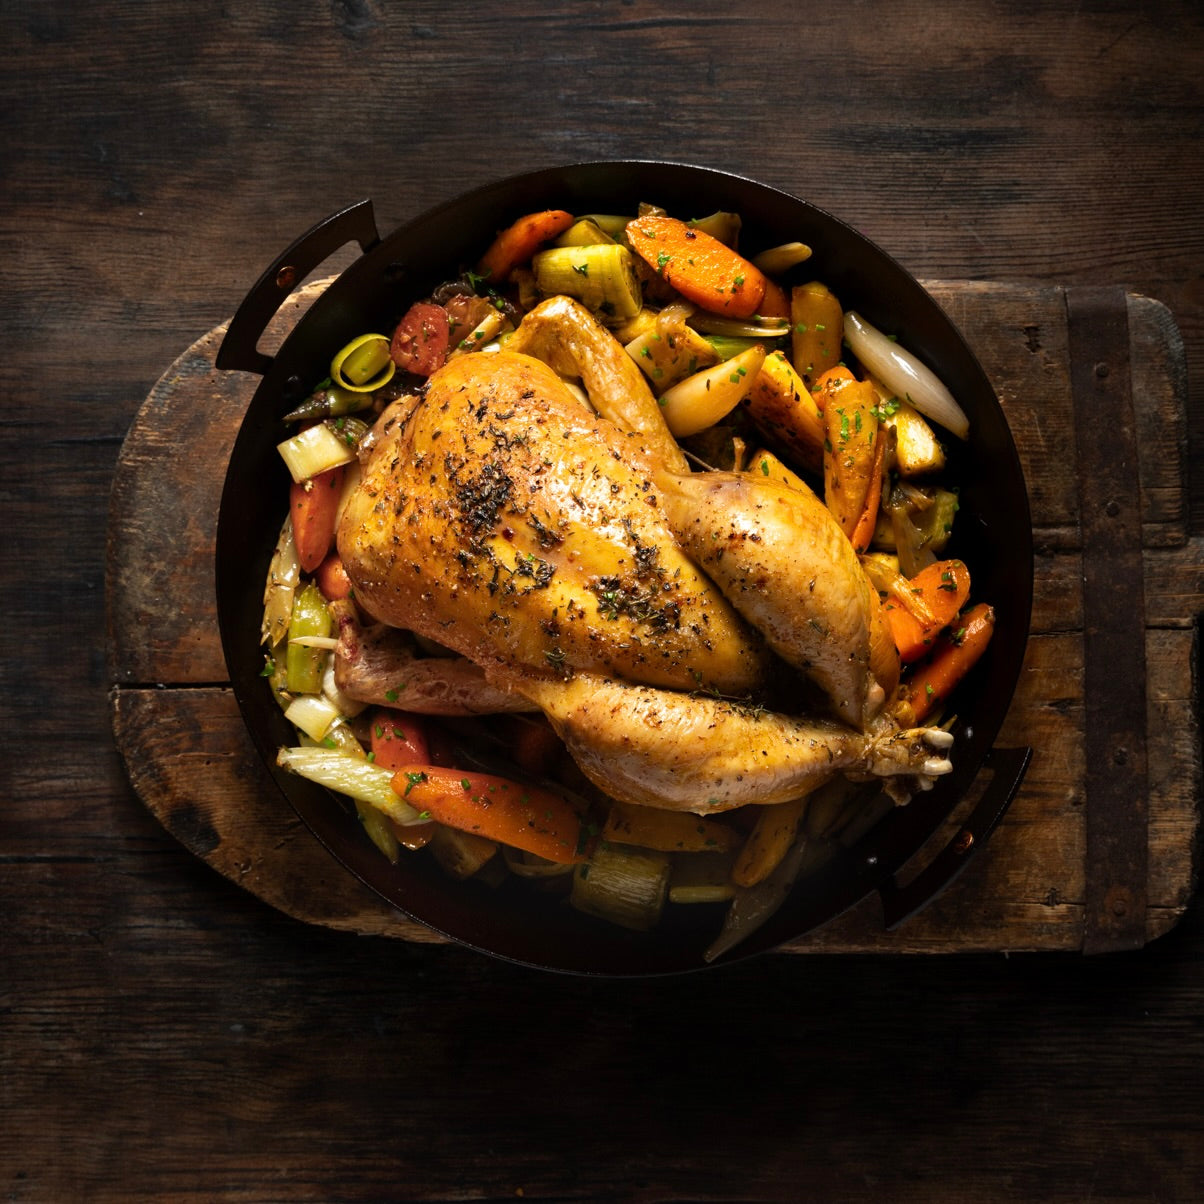
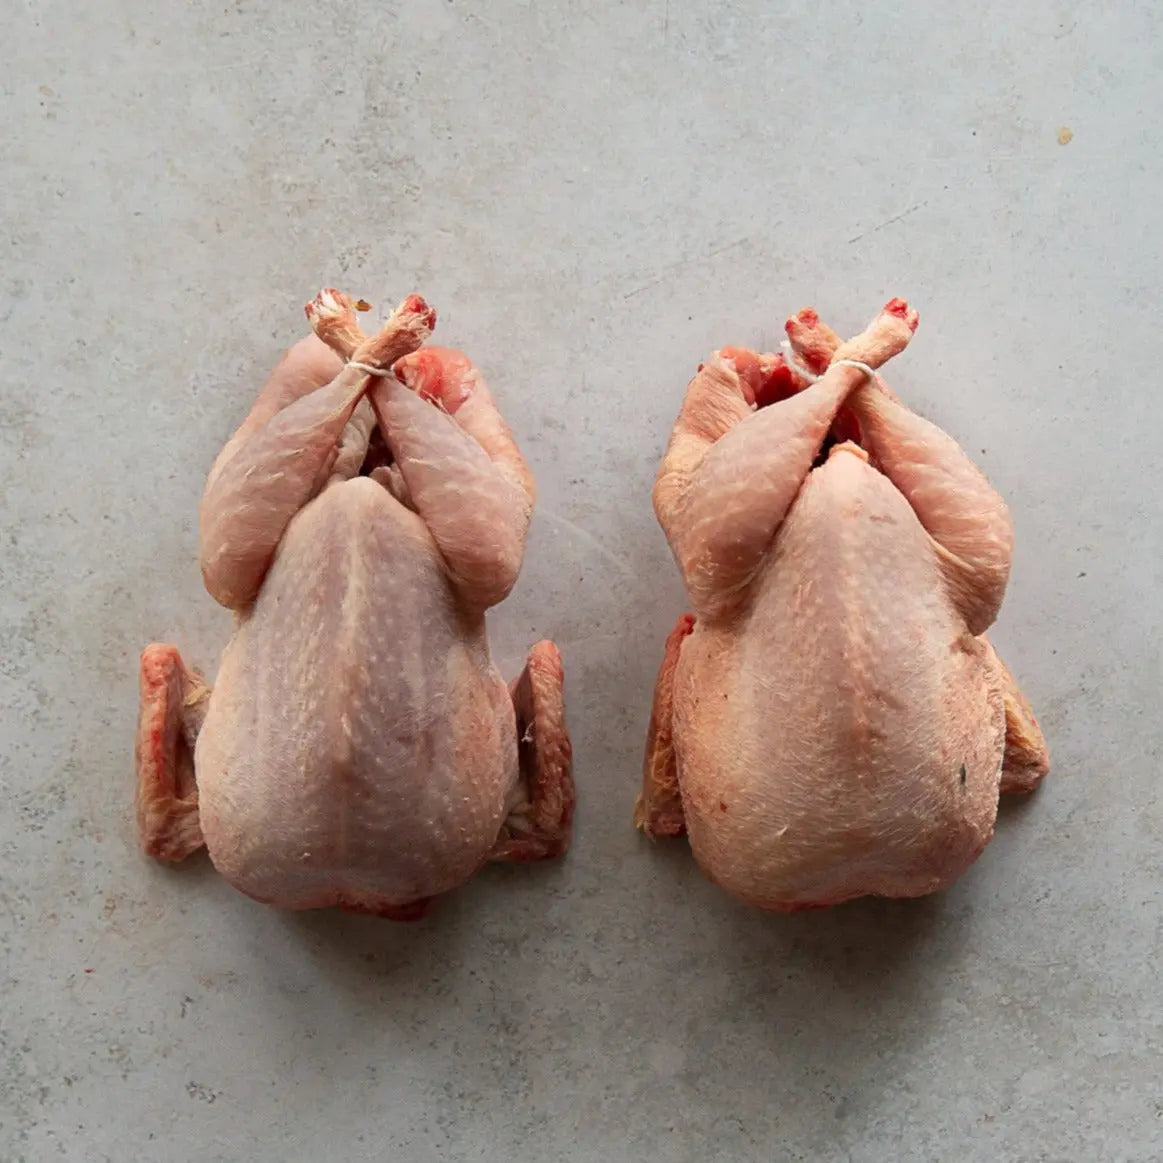
From the sun-drenched fields of Les Landes to the world's finest kitchens, the Tauzin family has been perfecting the art of poultry farming since the 19th century. Their signature chicken, raised on the rolling hills of St. Sever in South-West France, has earned its place on the most discerning tables – including the legendary kitchen of three-Michelin-starred chef Hélène Darroze at The Connaught.
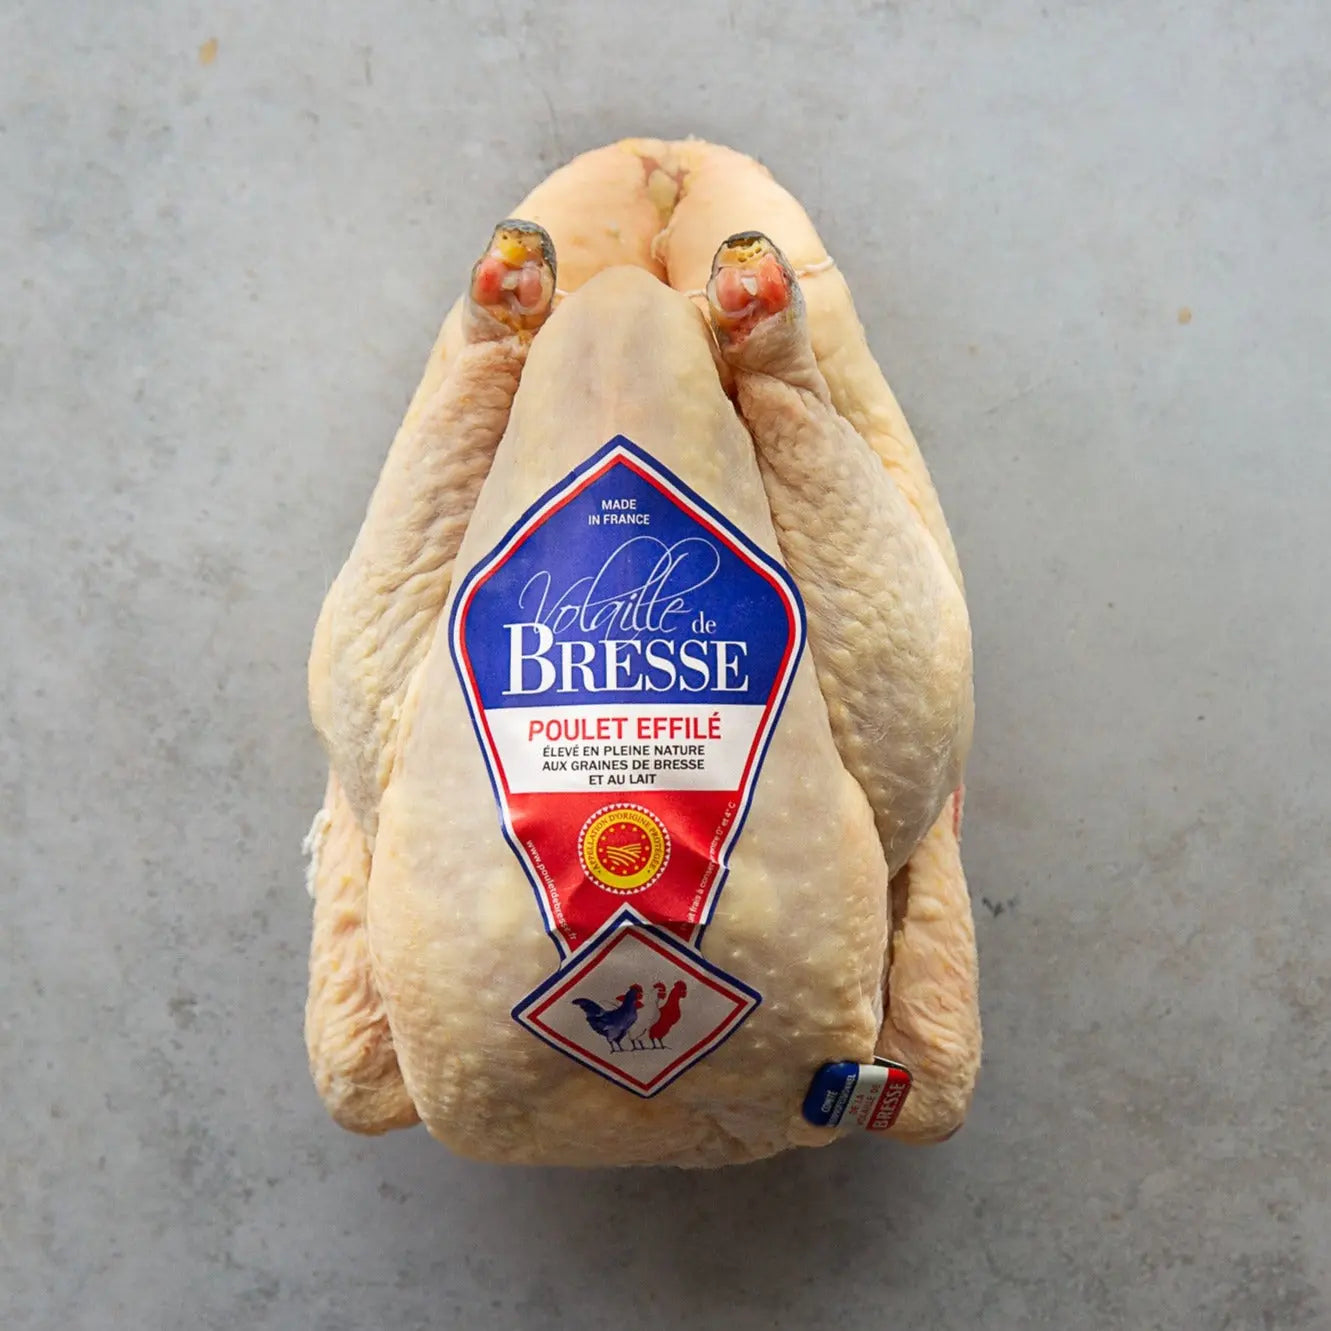
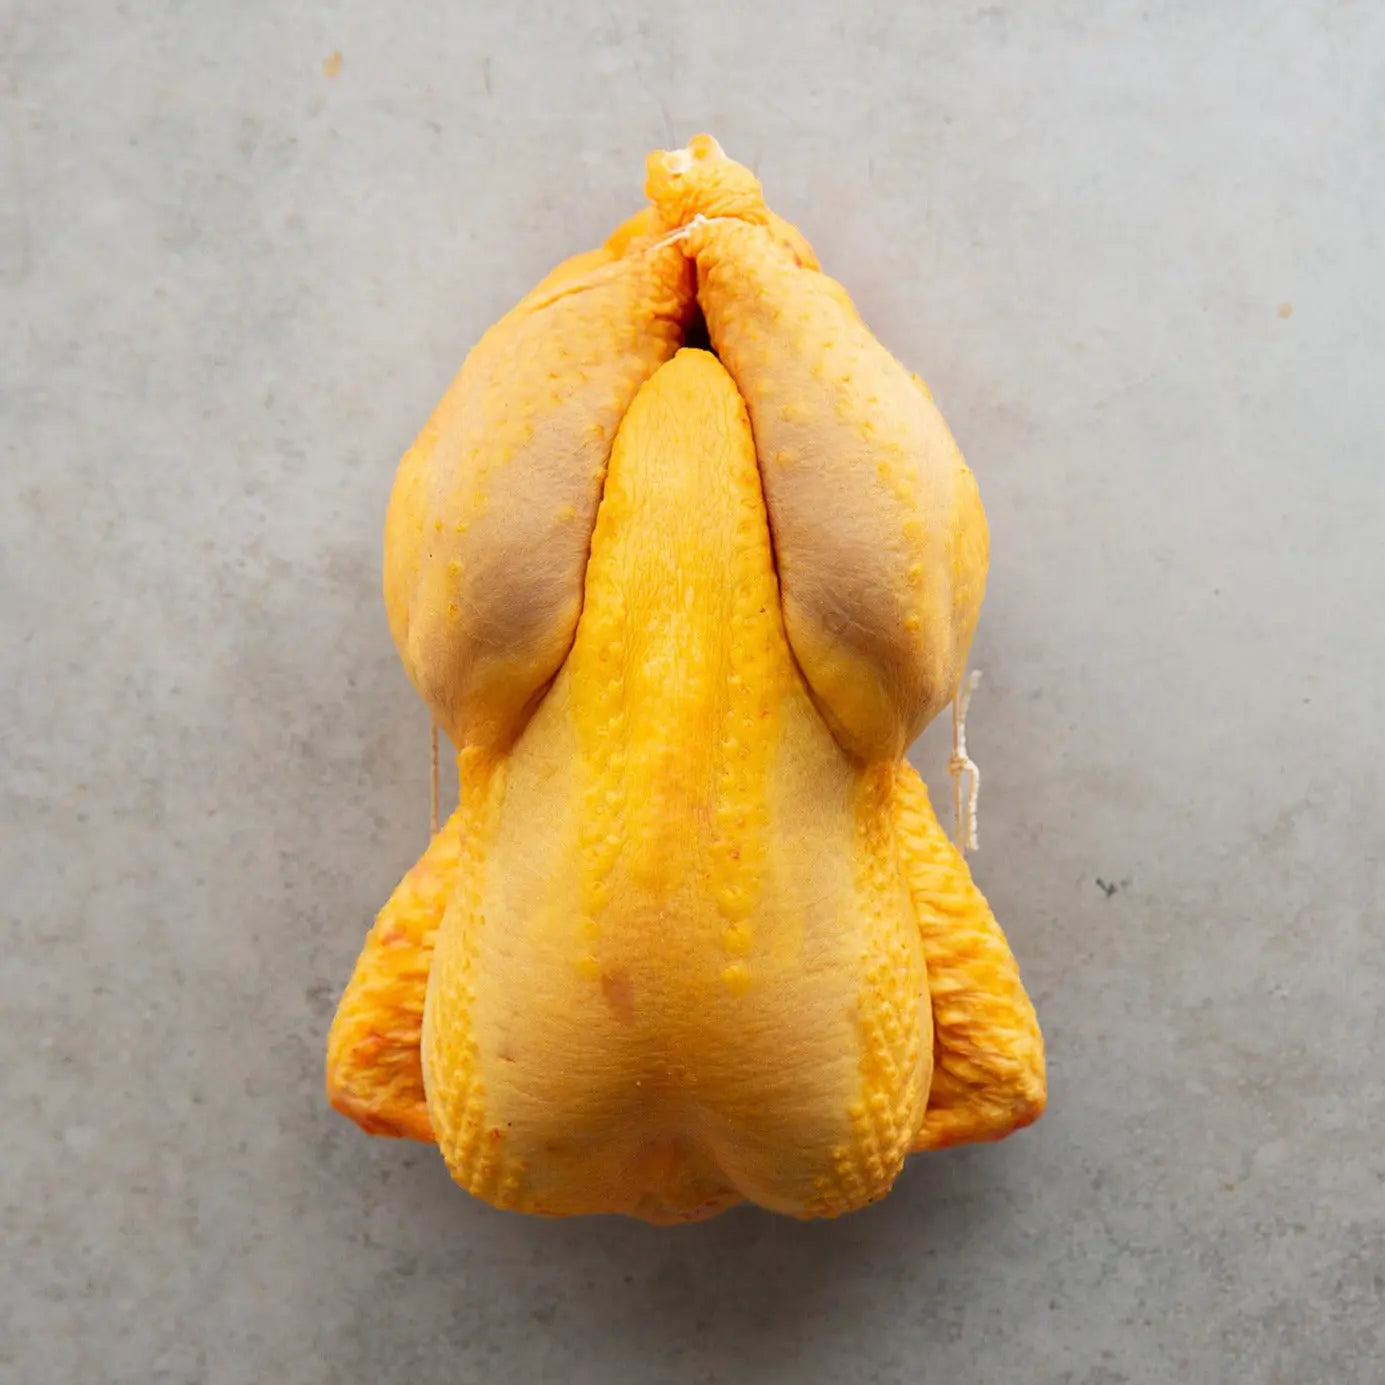
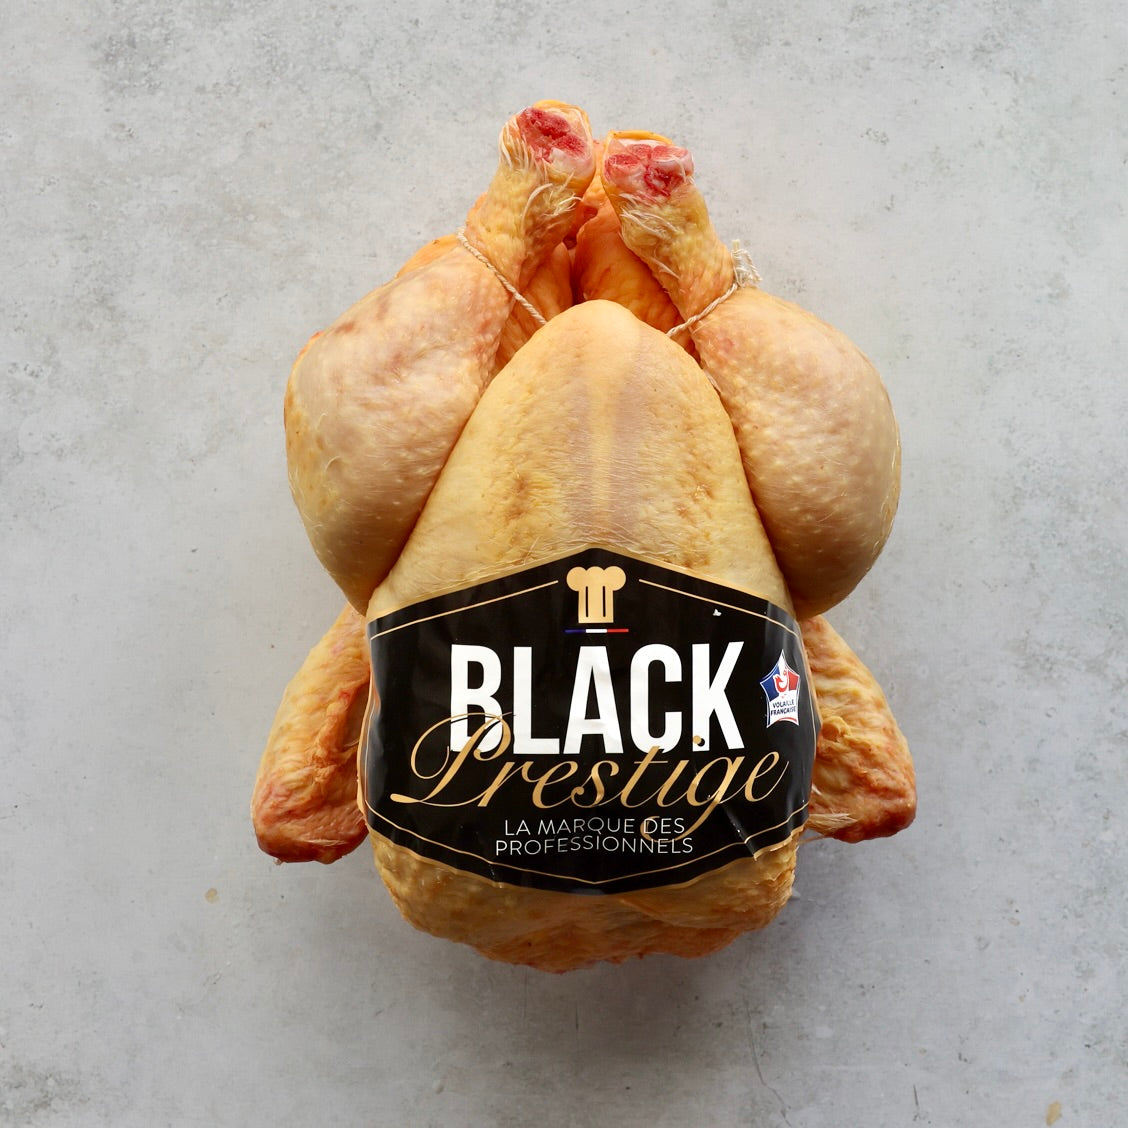
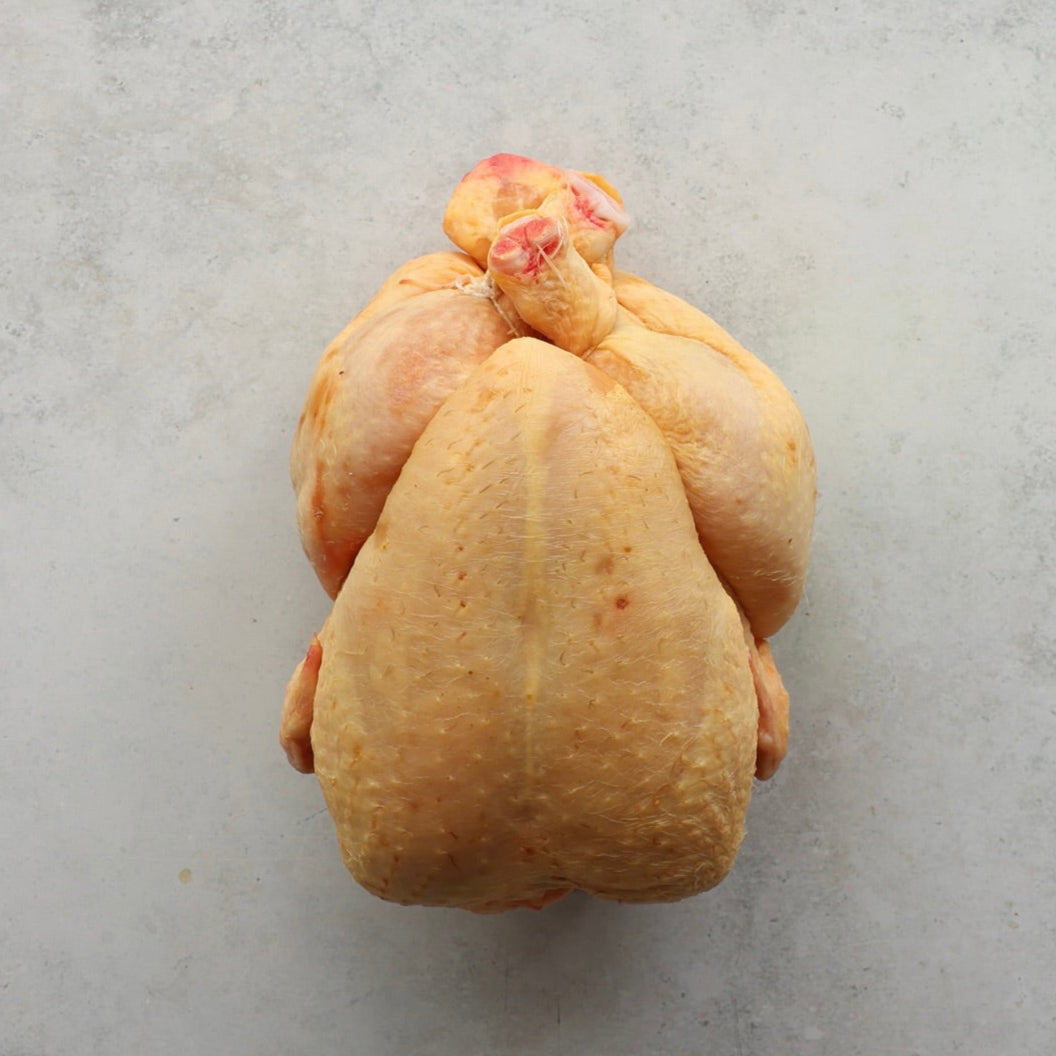
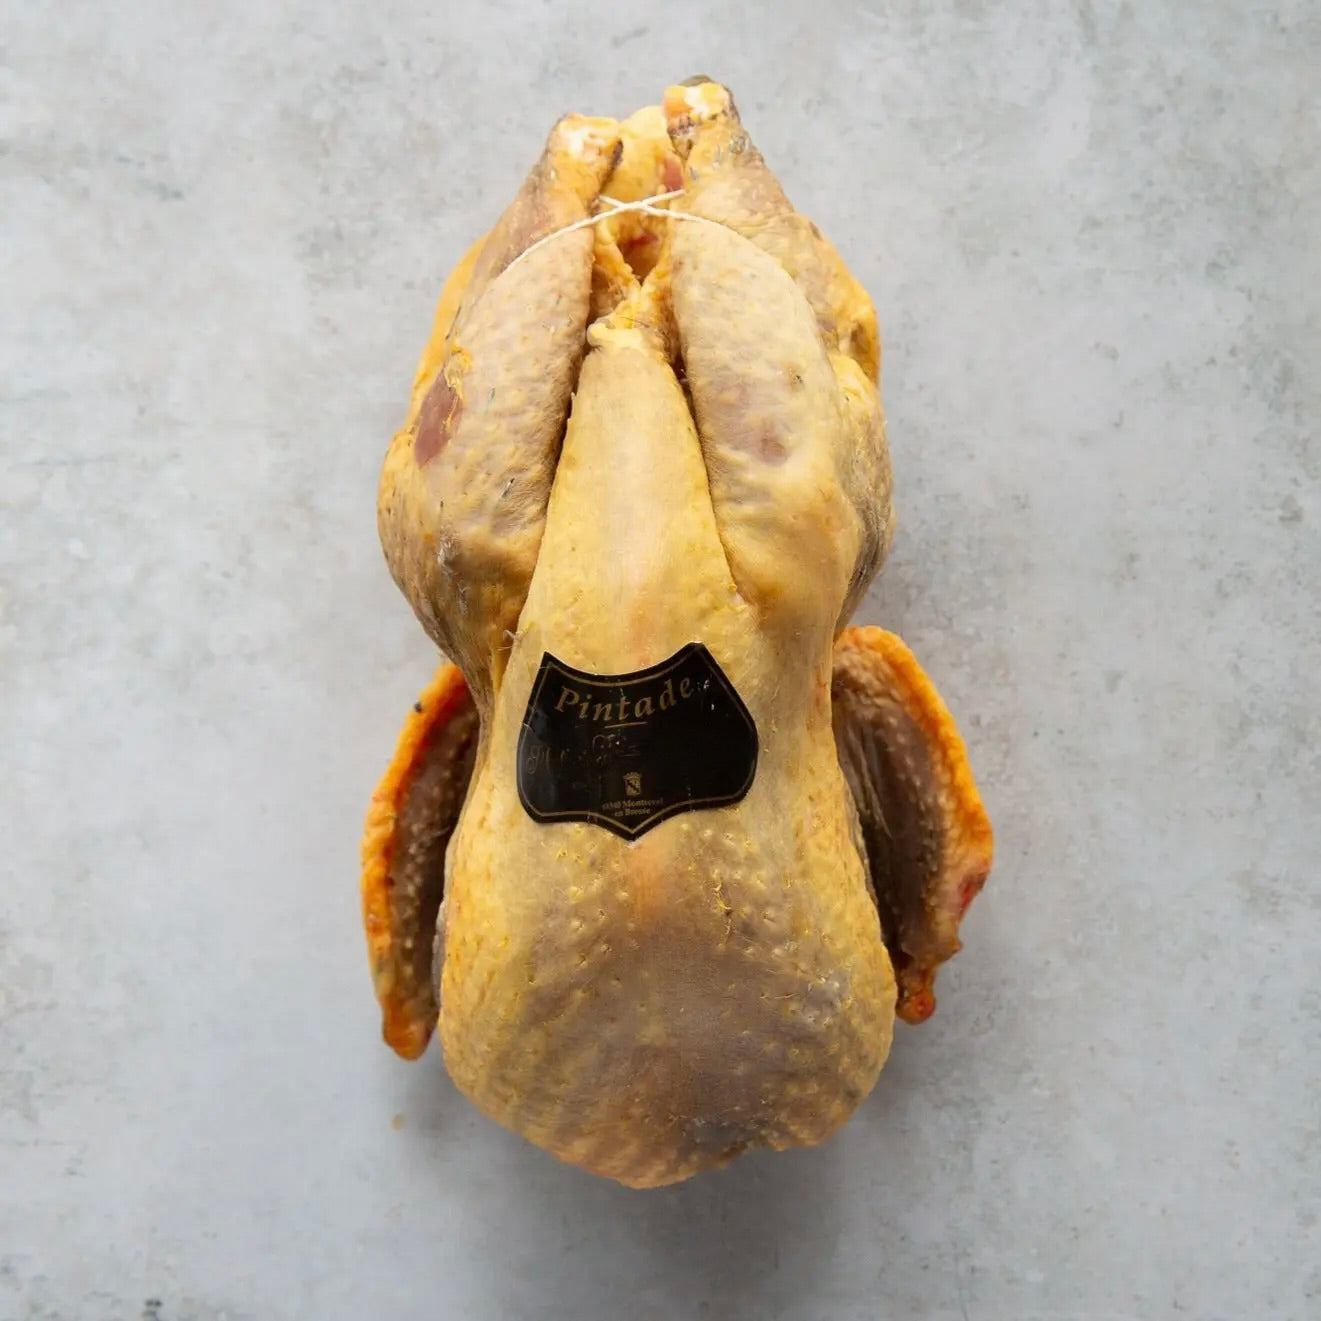
What makes this chicken truly exceptional? It's the culmination of generations of expertise, where tradition meets terroir. The Cou-Nu birds, distinguished by their characteristic "naked necks," are corn-fed with maize grown right on the Tauzin family farm. The result is nothing short of culinary perfection: meat that's remarkably firm yet juicy, with a depth of flavour that surpasses even the prestigious Label Rouge standard.
LANDES CHICKEN PREPARATION
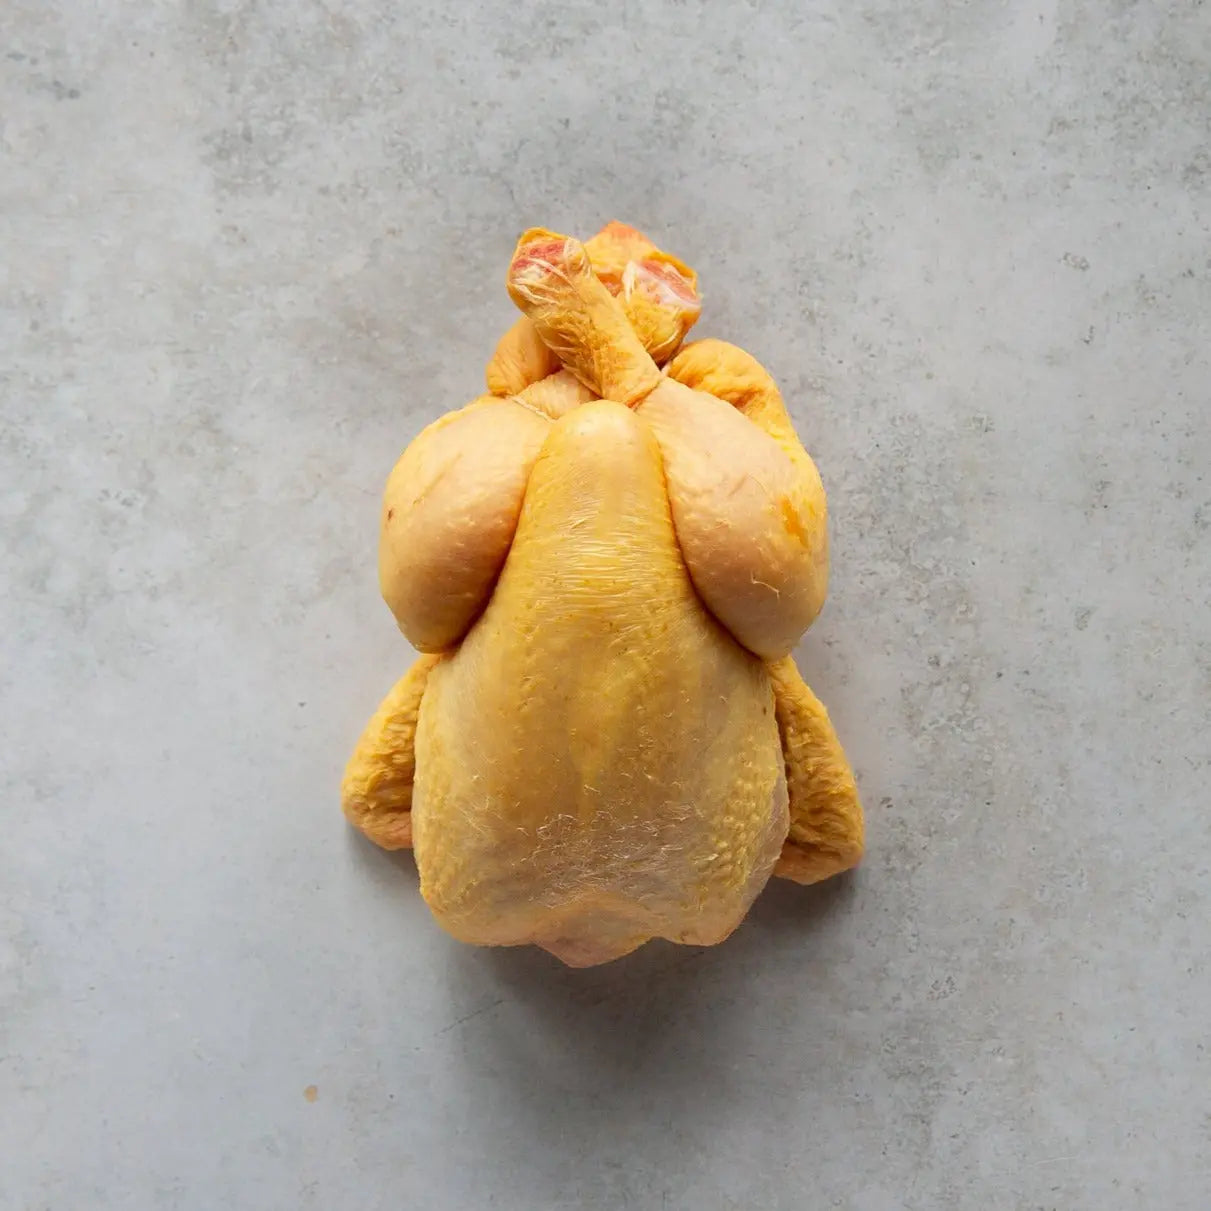
In this visual demonstration of chicken butchery, where we'll guide you through maximizing a 1.4kg bird to create a fantastic meal for four people. By breaking down a whole chicken into its component parts, you'll gain better control over cooking times and temperatures while ensuring nothing goes to waste.
Before beginning, ensure you have a sharp boning knife ready - this is essential for clean, precise cuts. Start by patting the chicken dry and placing it breast-side up on a clean cutting board. The key to successful butchery lies in following the bird's natural muscle structure.
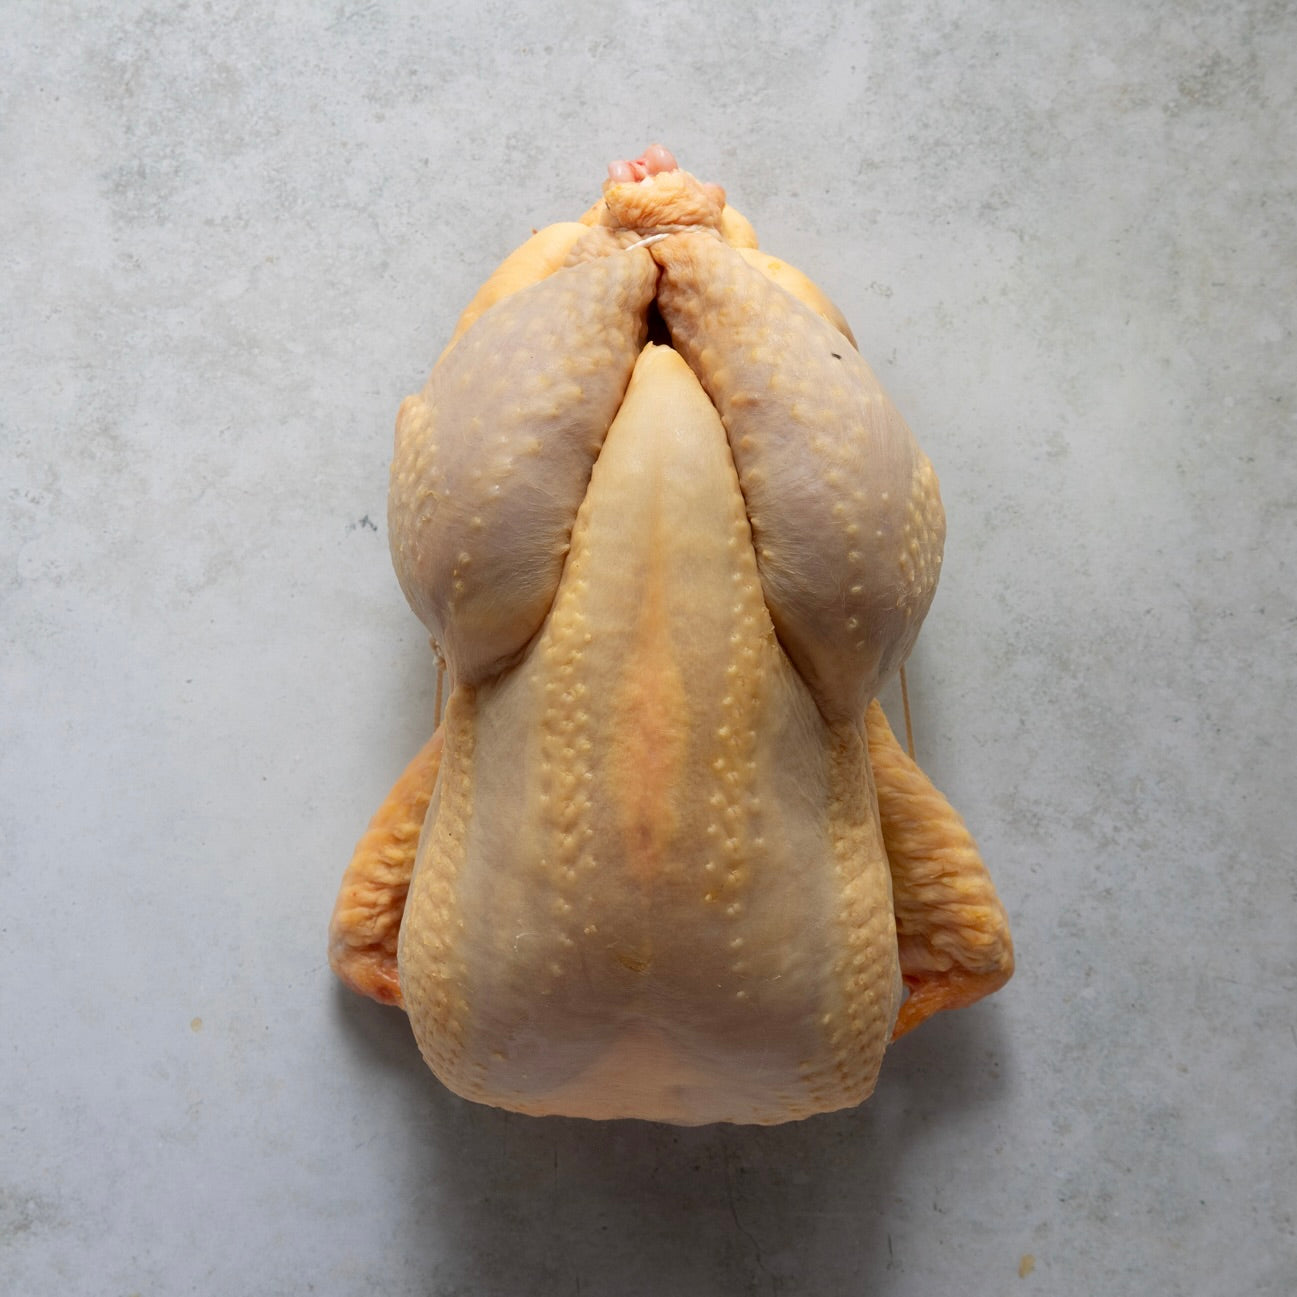
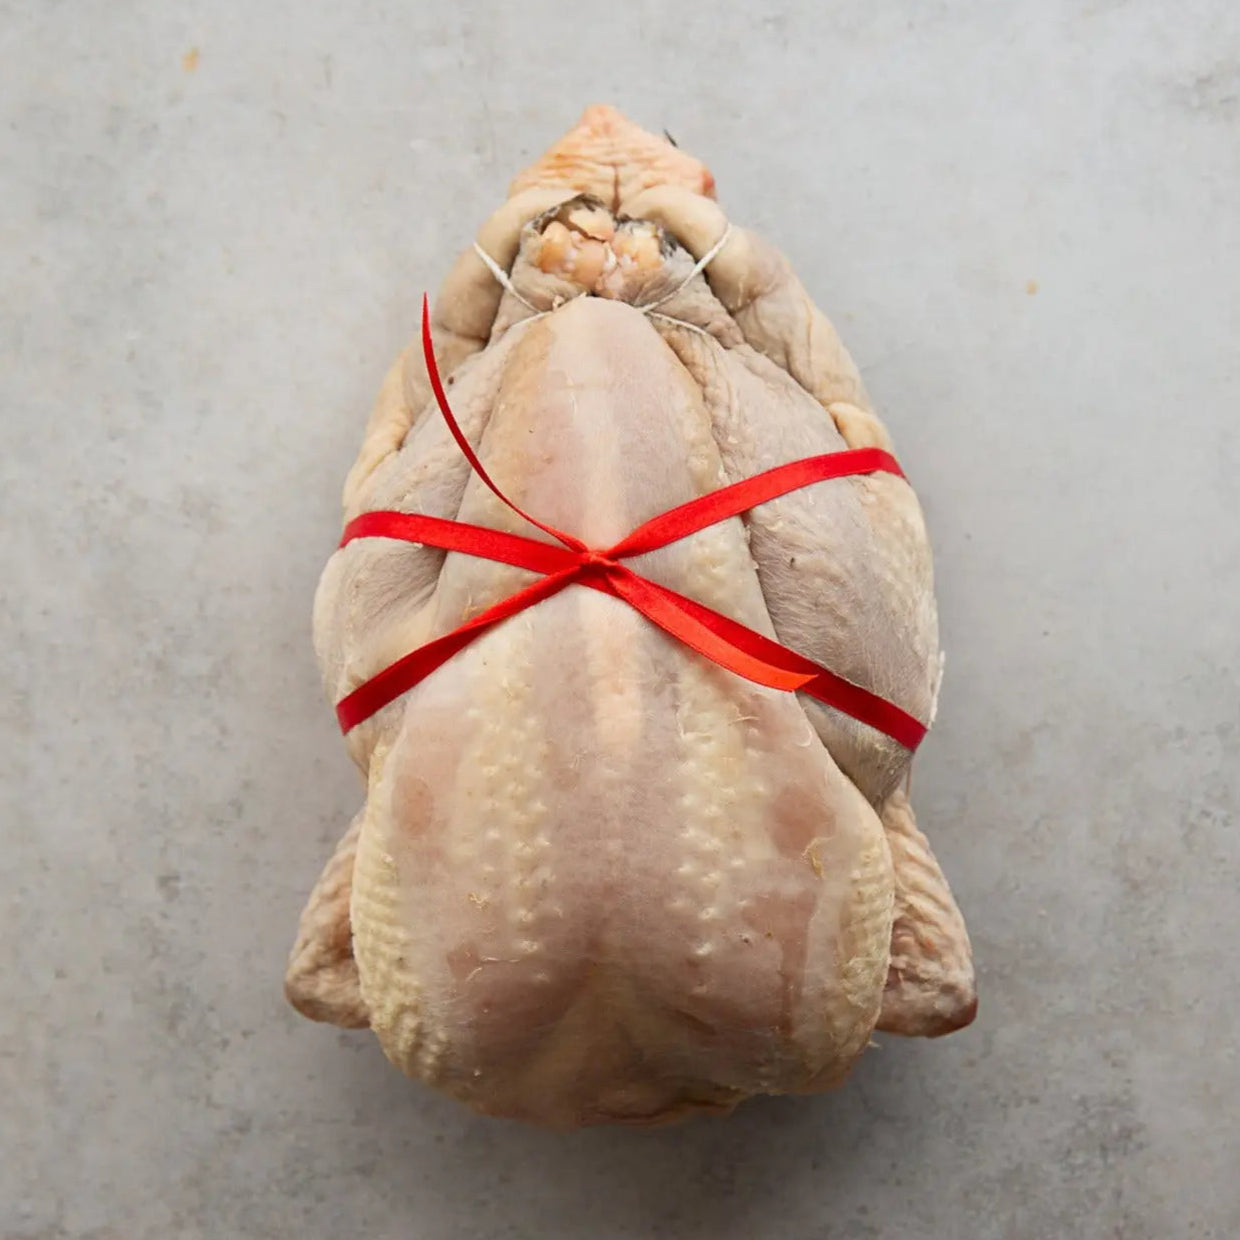
We sell all of chickens tied and ready to roast whole, before you start cut the twine and remove.
Begin by gently stretching the breast skin over the crown - this protective layer of skin will help keep the meat moist during cooking.
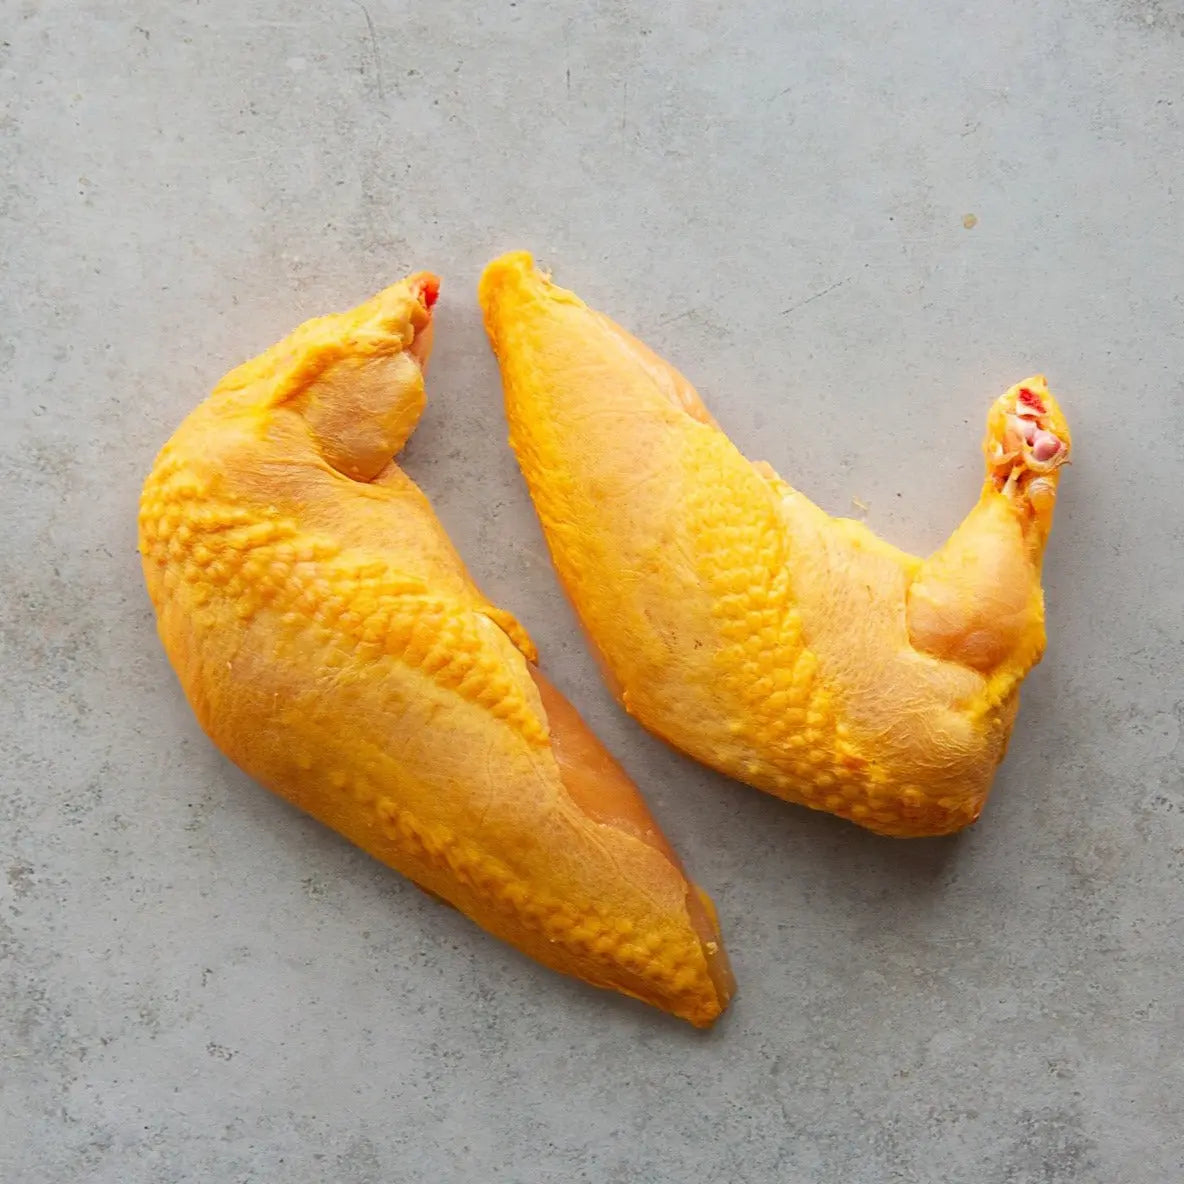
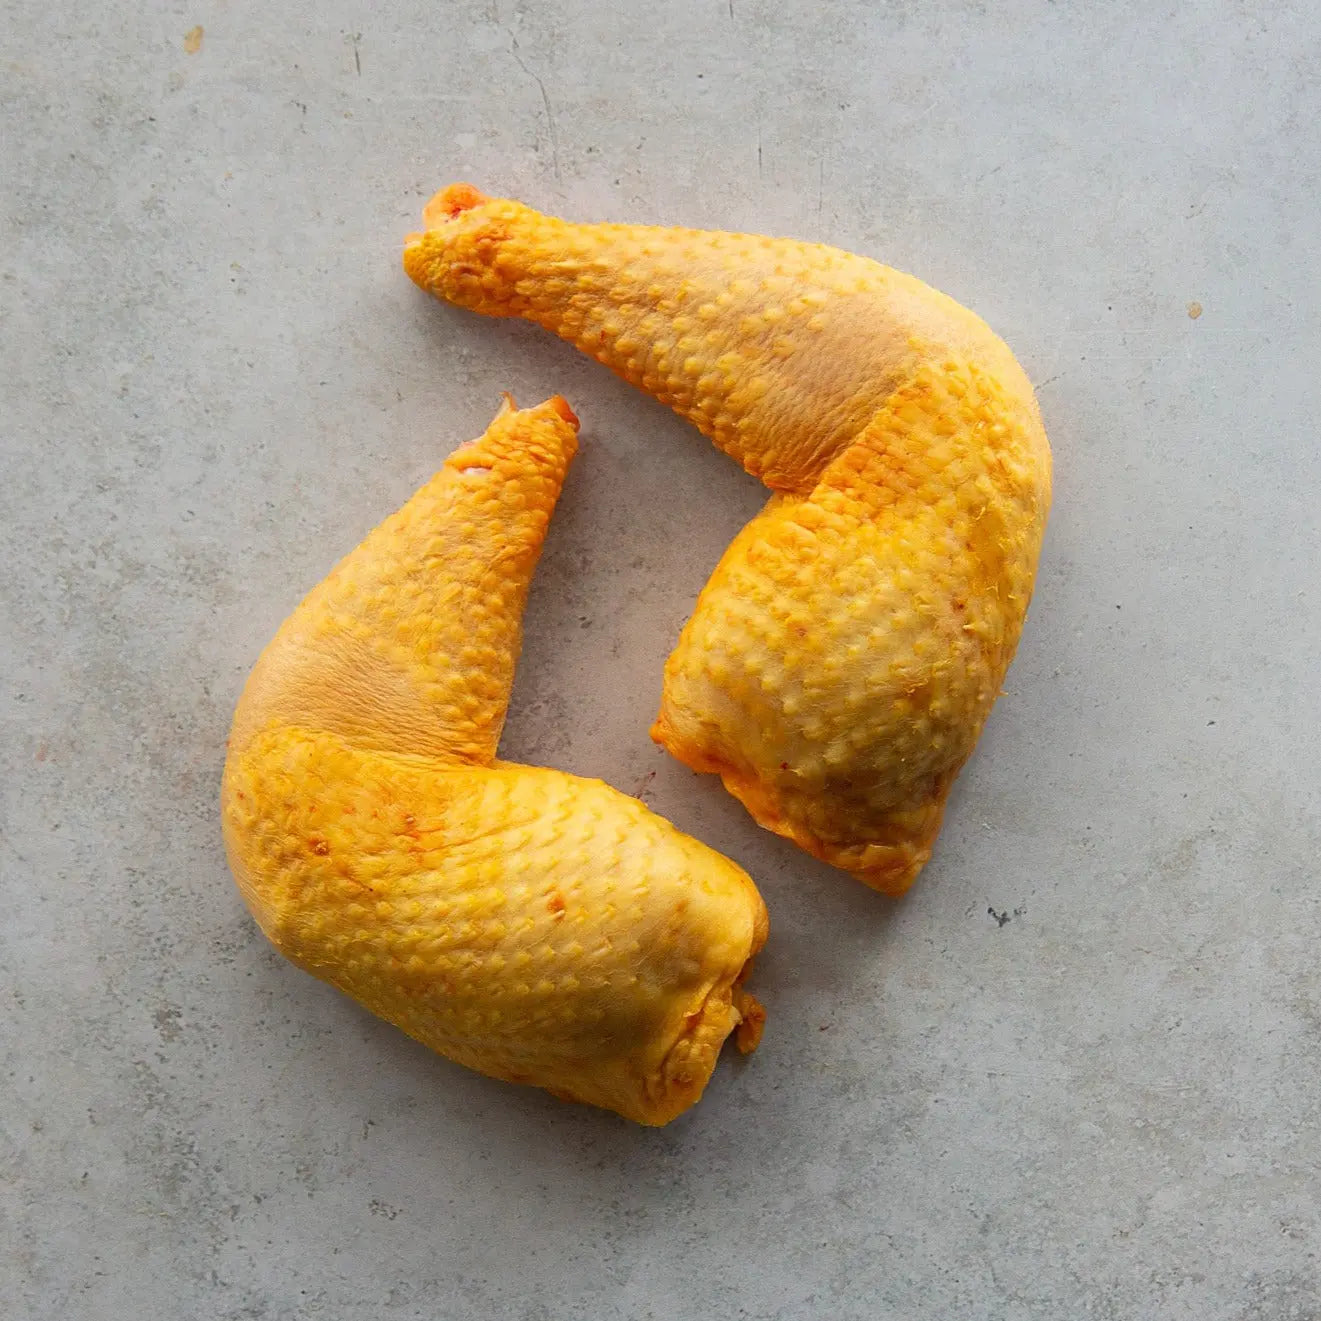
Next, locate the natural seam where the leg meets the breast. Make your first incision here, carefully cutting through the skin while keeping the breast skin intact. As you pull the leg away from the body, you'll see the hip joint - pop this out of its socket and cut through to completely remove the leg. Repeat this process on the other side.
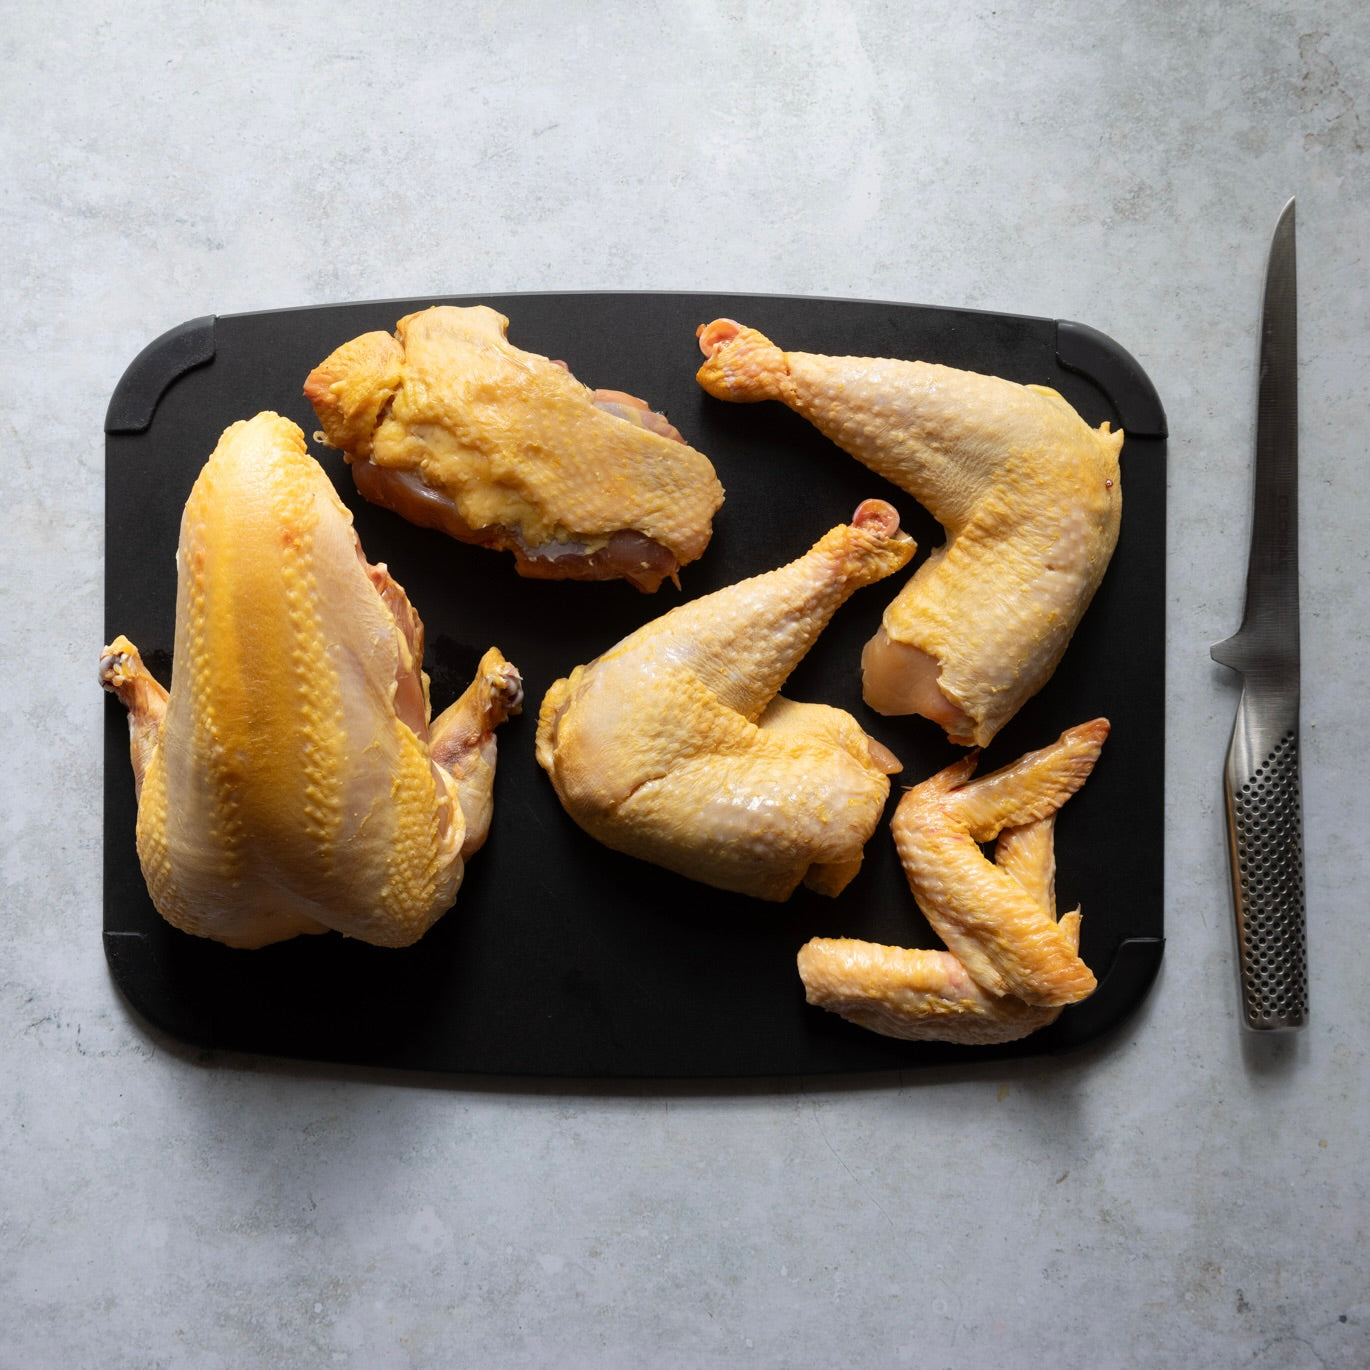
Once the legs are removed, turn the chicken onto its side. Place your thumb in the center of the backbone and firmly press downward with the same hand until you hear a snap - this releases the oyster and protruding section of the bird. Use your knife to cleanly cut away this snapped section and reserve it for stock.
Next, locate the wings and find the natural bend at the elbow joint. Cut through this joint cleanly to remove the wingtips, adding these to your growing collection of stock ingredients. If you wish, you can also remove the wishbone at this stage - this small V-shaped bone near the neck will make portioning the breast meat much easier if removed.
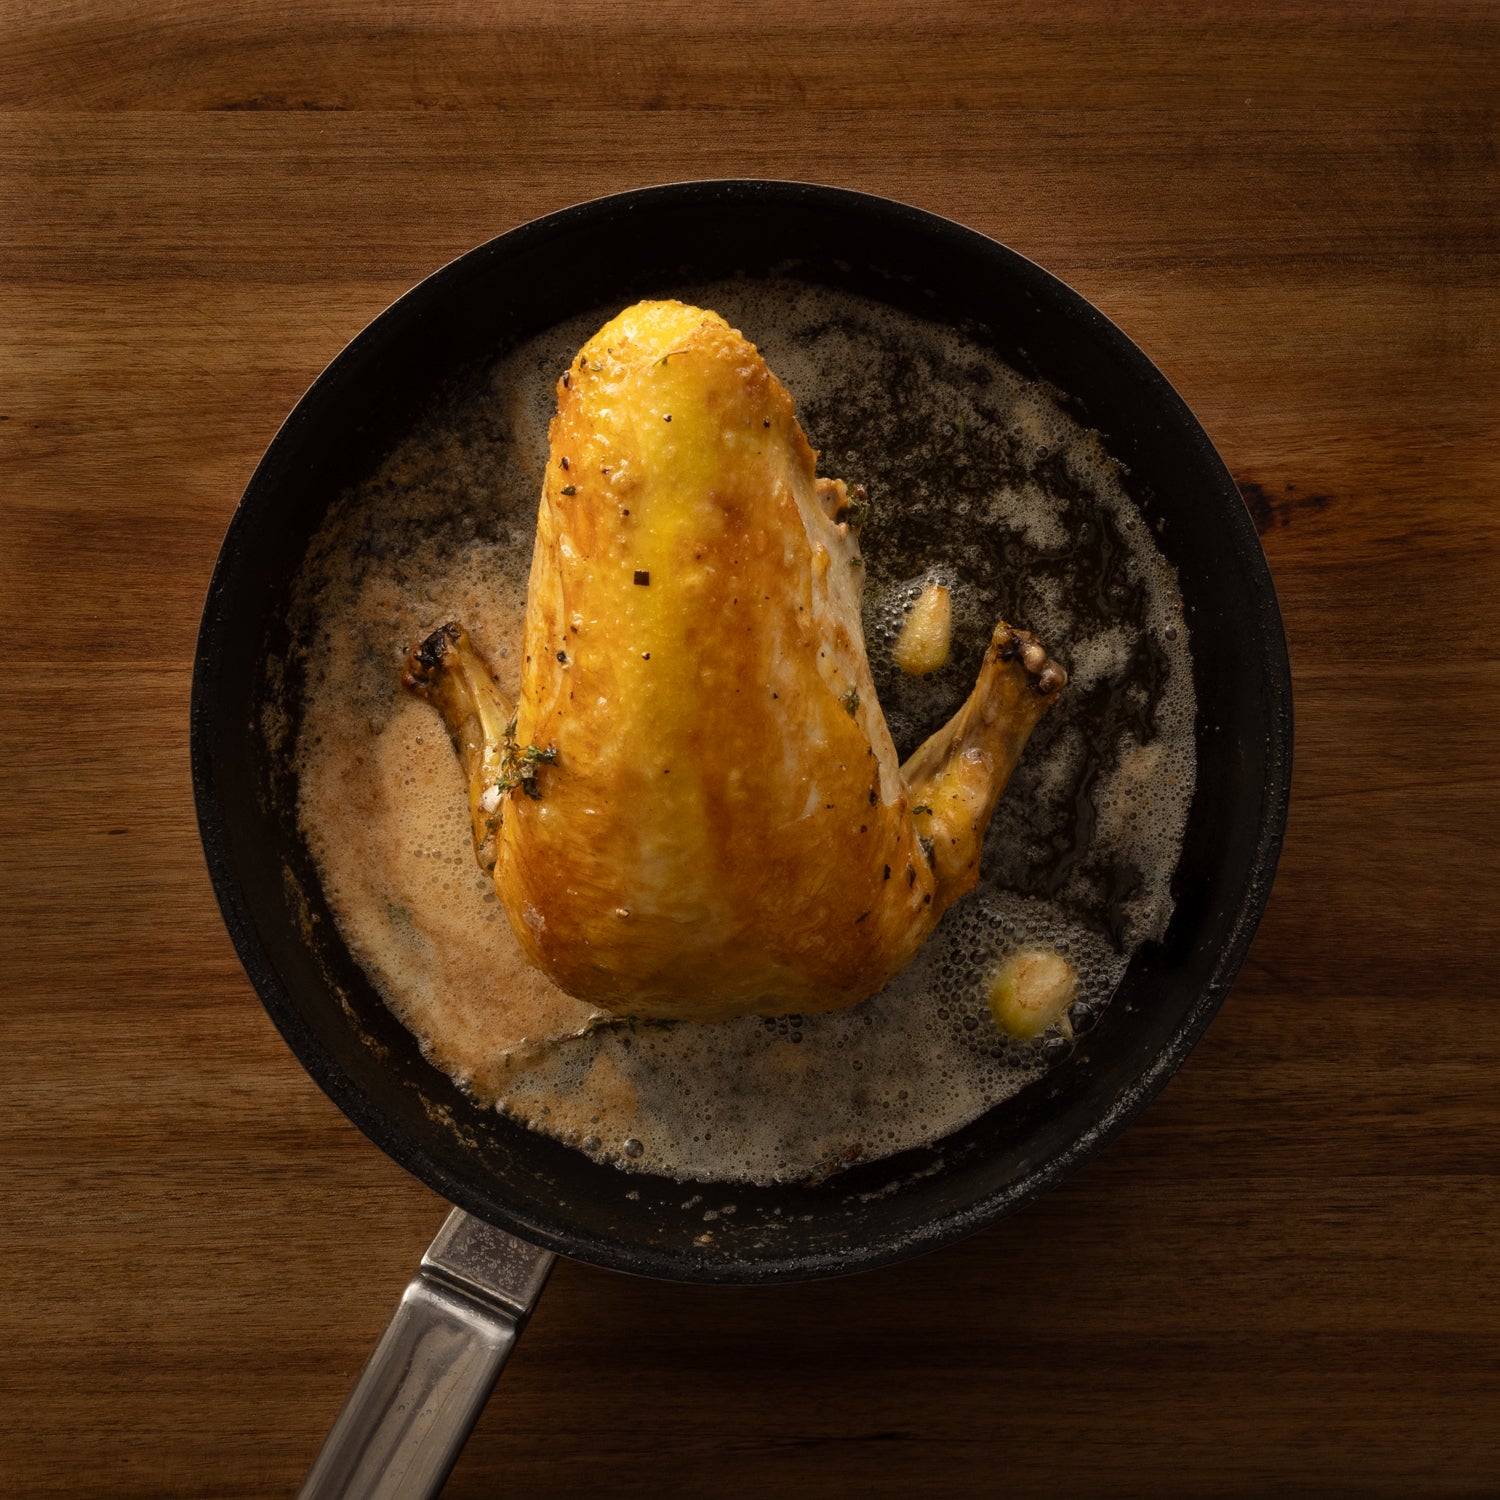
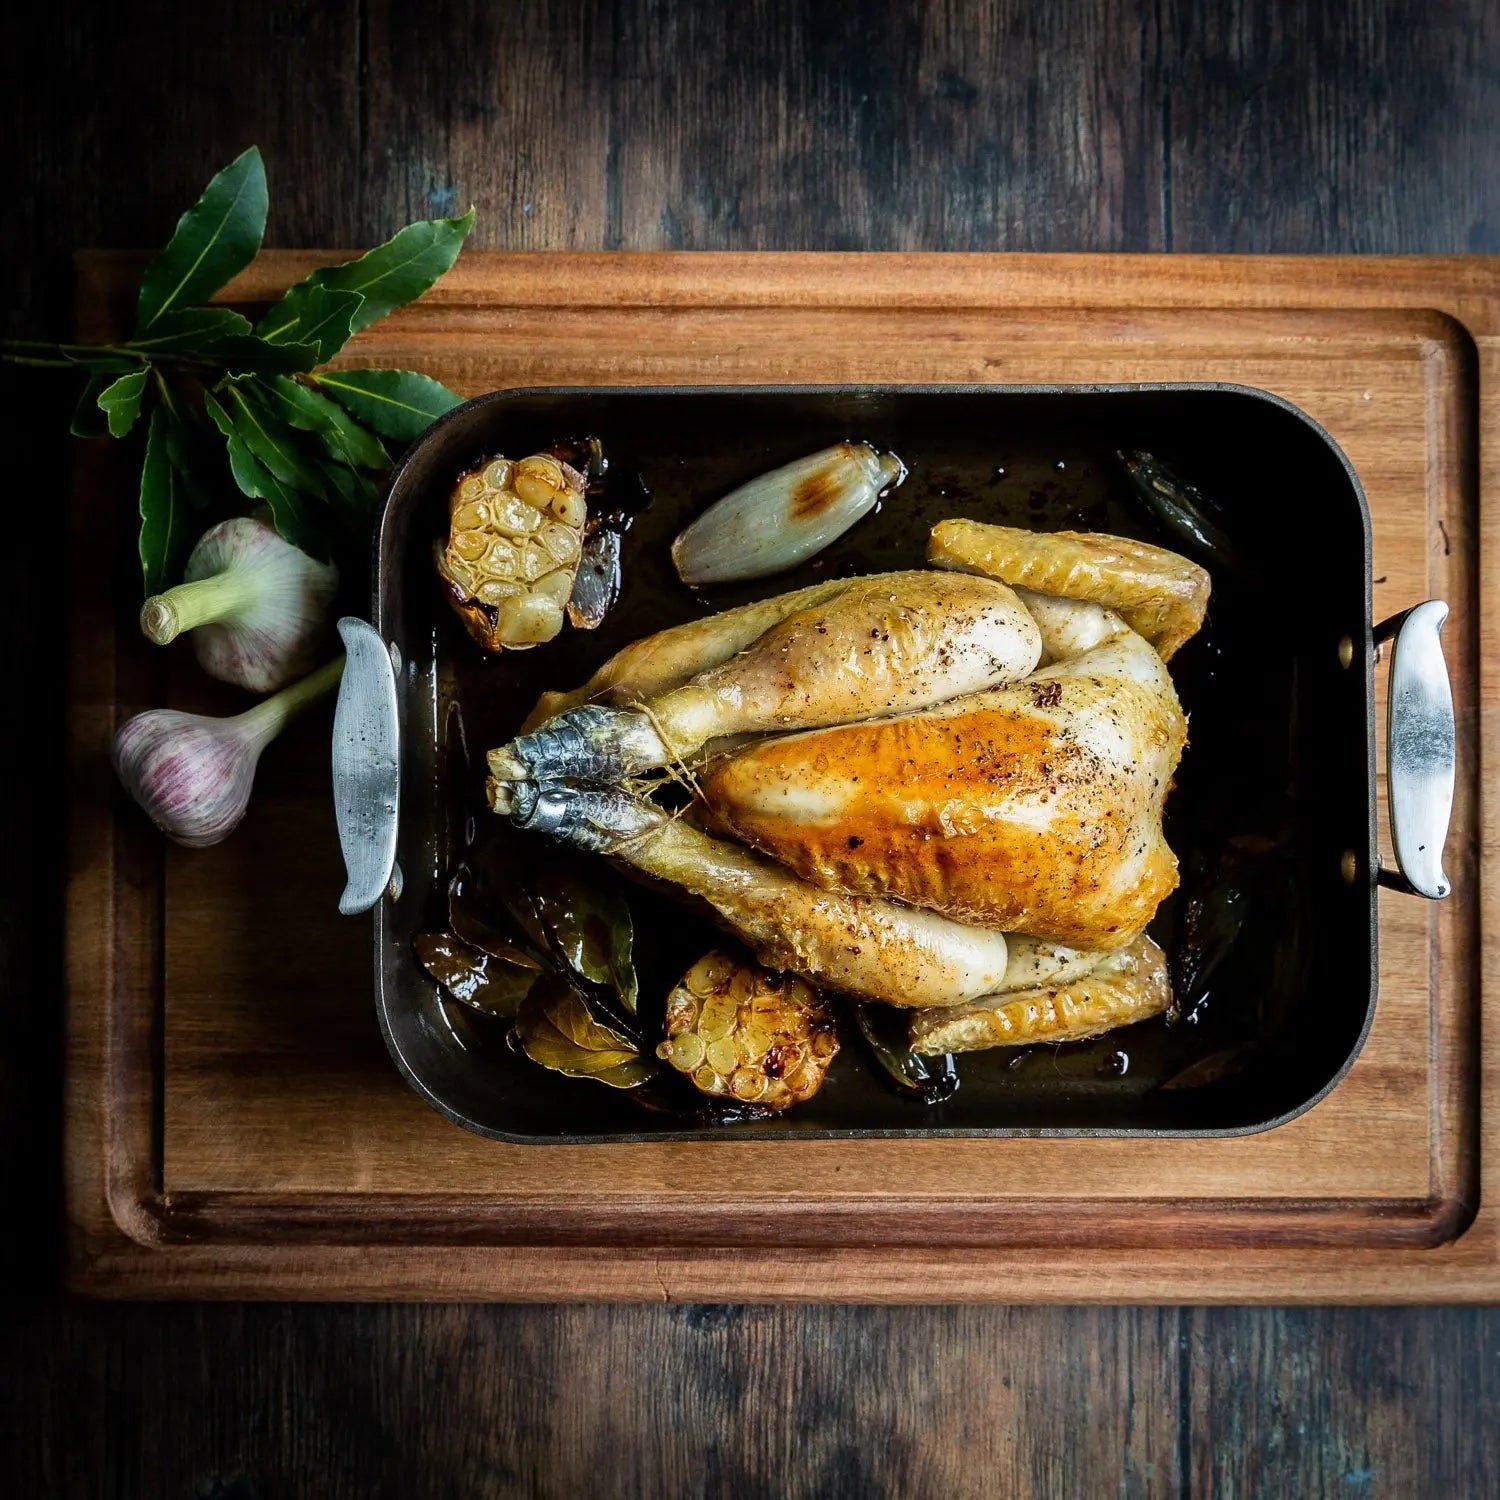
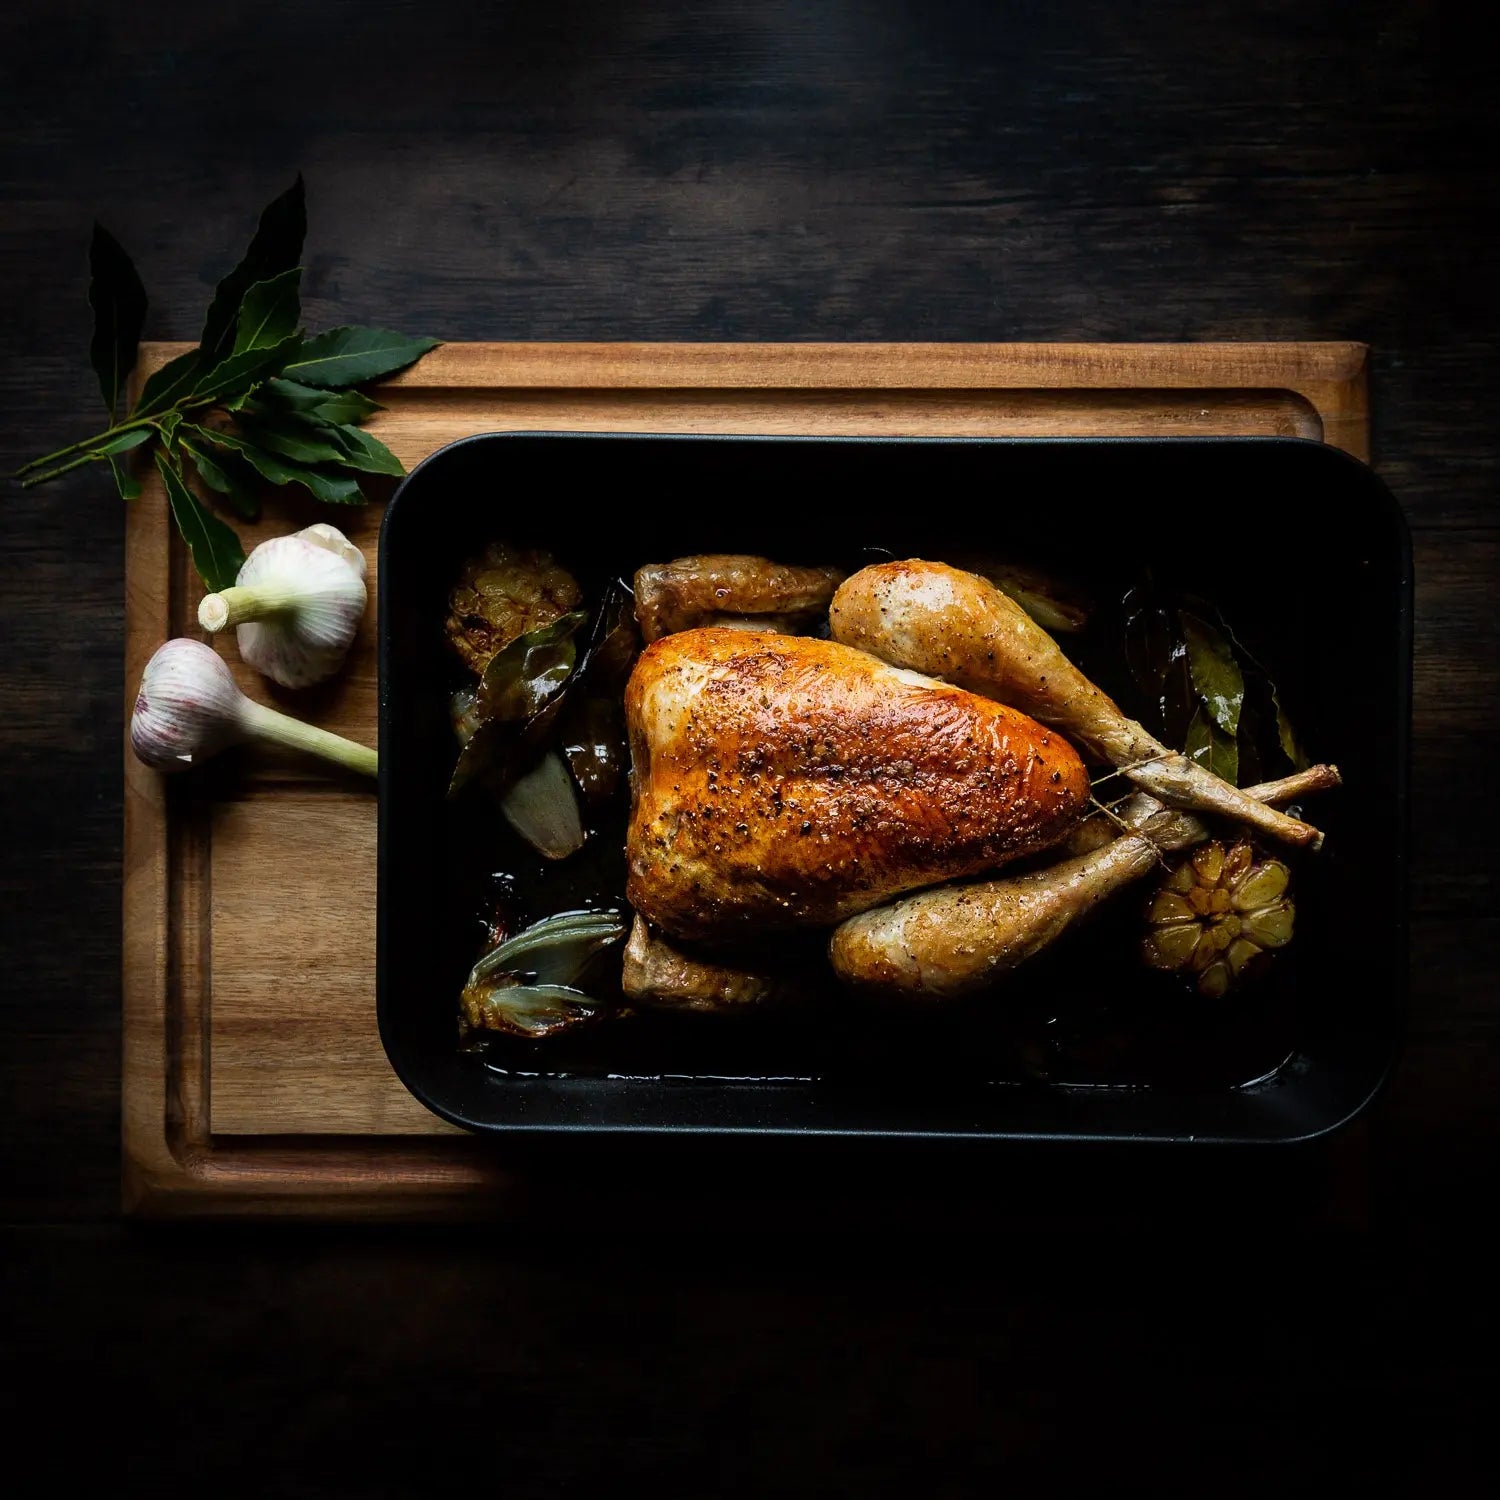
Let your crown roast come to room temperature before cooking to prevent the skin 'spitting', the breasts will cook more evenly while still attached to the bone.
Place a non-stick pan over medium heat and add olive oil. Season the crown with salt. Place it in the pan, starting with one side, then turn to the other side, until you achieve a golden skin all around. To brown the wider part of the breasts, lift the narrow end towards you and rest the crown against the side of the pan.
Once golden, add 100g diced butter, a thyme sprig, and one garlic clove. As the butter begins to foam, use a spoon to baste the crown with the buttery juices to enhance colour and flavour.
Transfer the pan to a preheated 180°C oven (ensure your pan has a metal handle). Cook for 10 minutes, then remove and let rest for 20-30 minutes.
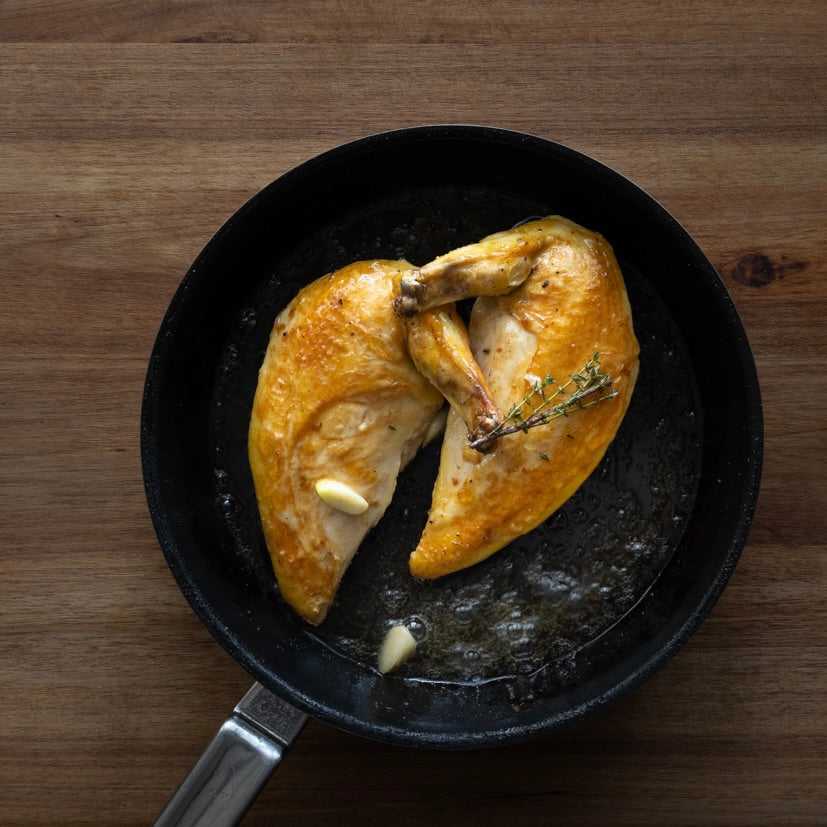
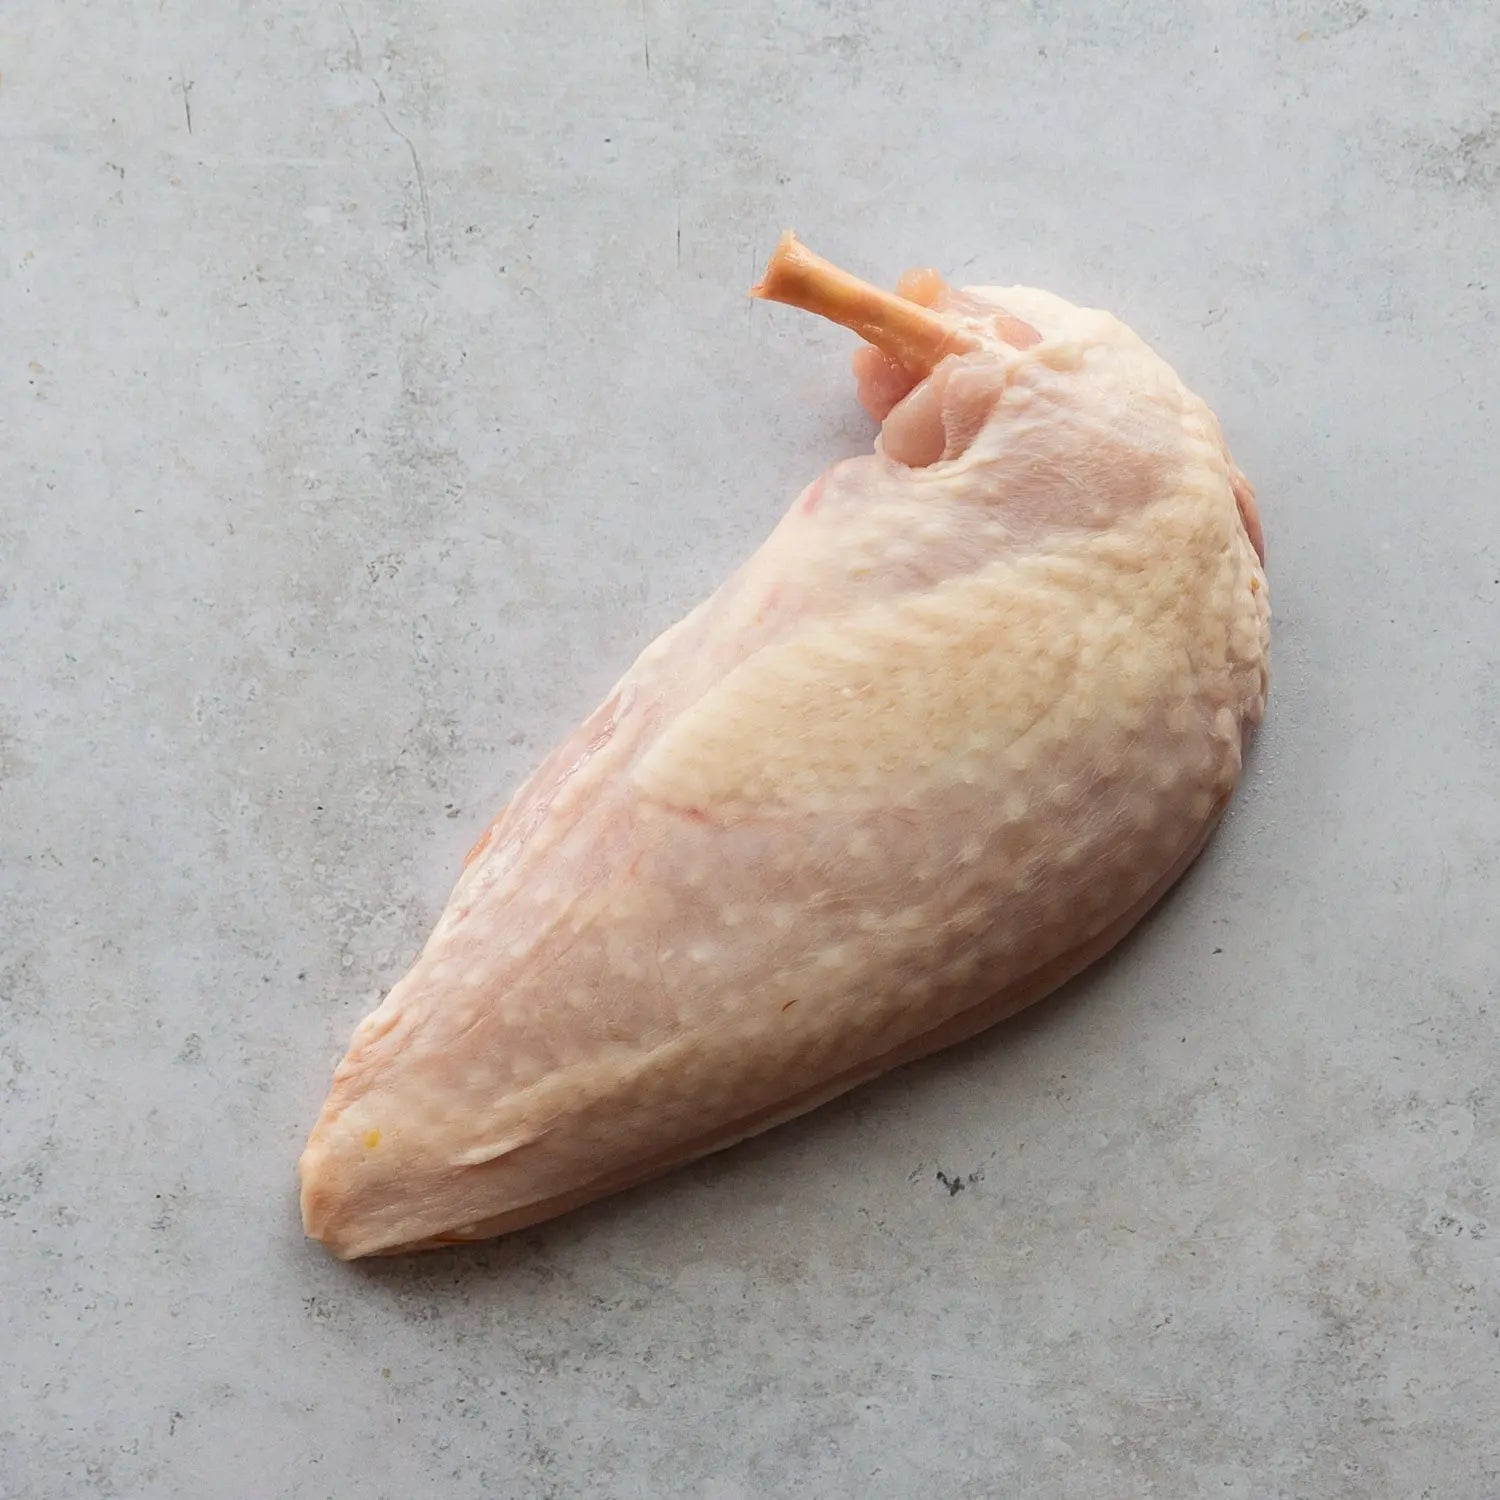
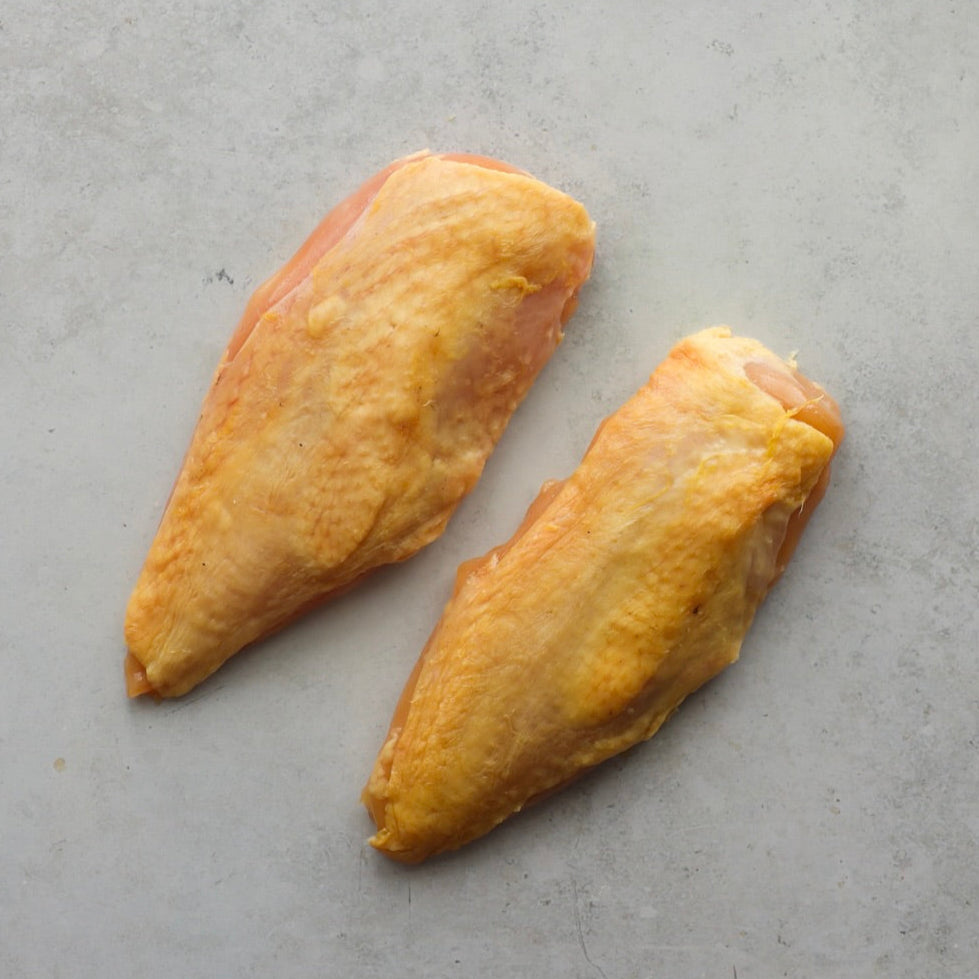
After resting and once cool enough to handle, use a sharp knife to cut down either side of the backbone. Follow the carcass line, cutting against the bone to remove each breast cleanly. Set the crown aside for stock. The underside of the breasts will likely be slightly undercooked - this is intentional for the final cooking stage.
If you don't plan to finish cooking within the hour, refrigerate the breasts promptly, as partially cooked chicken can become unsafe if left at room temperature.
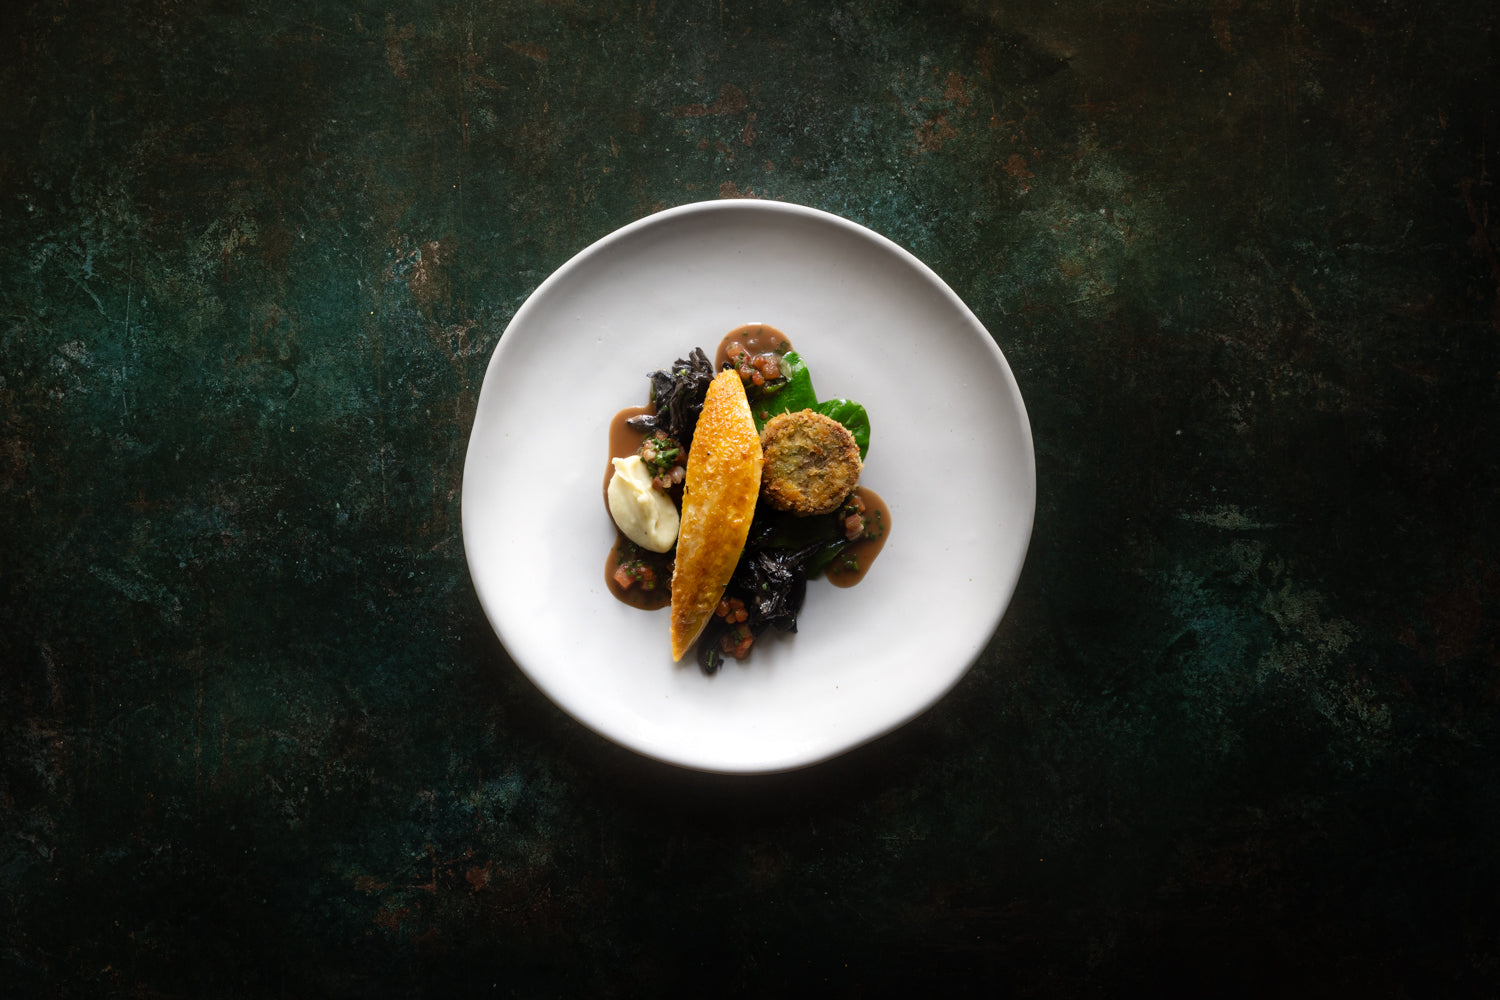
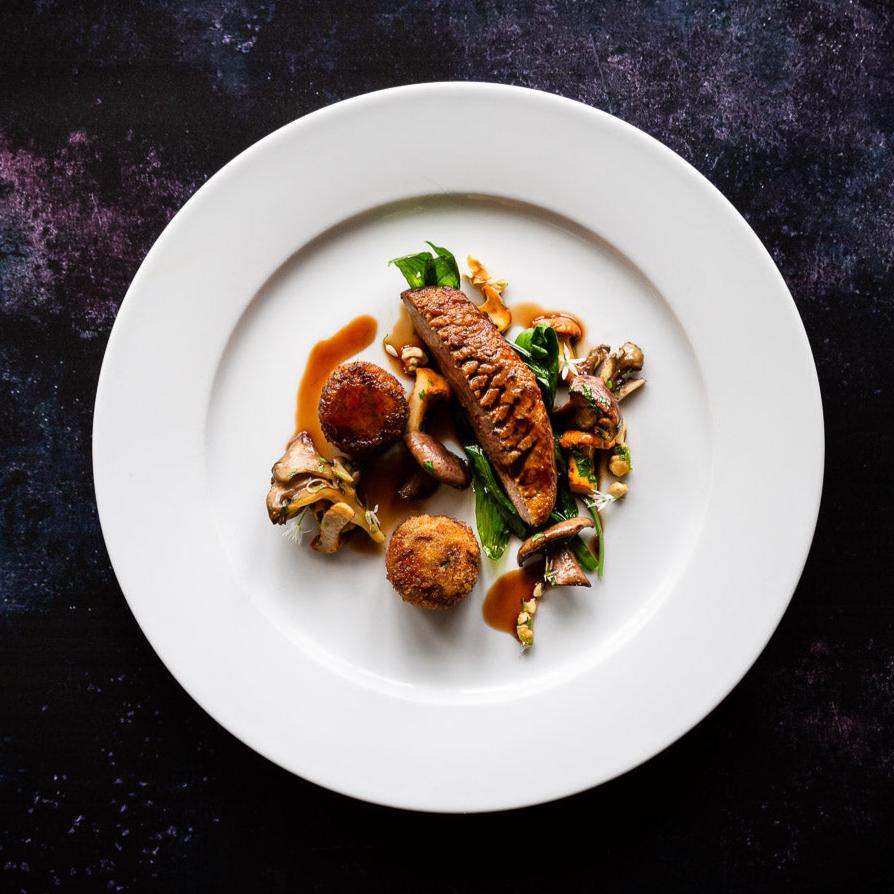
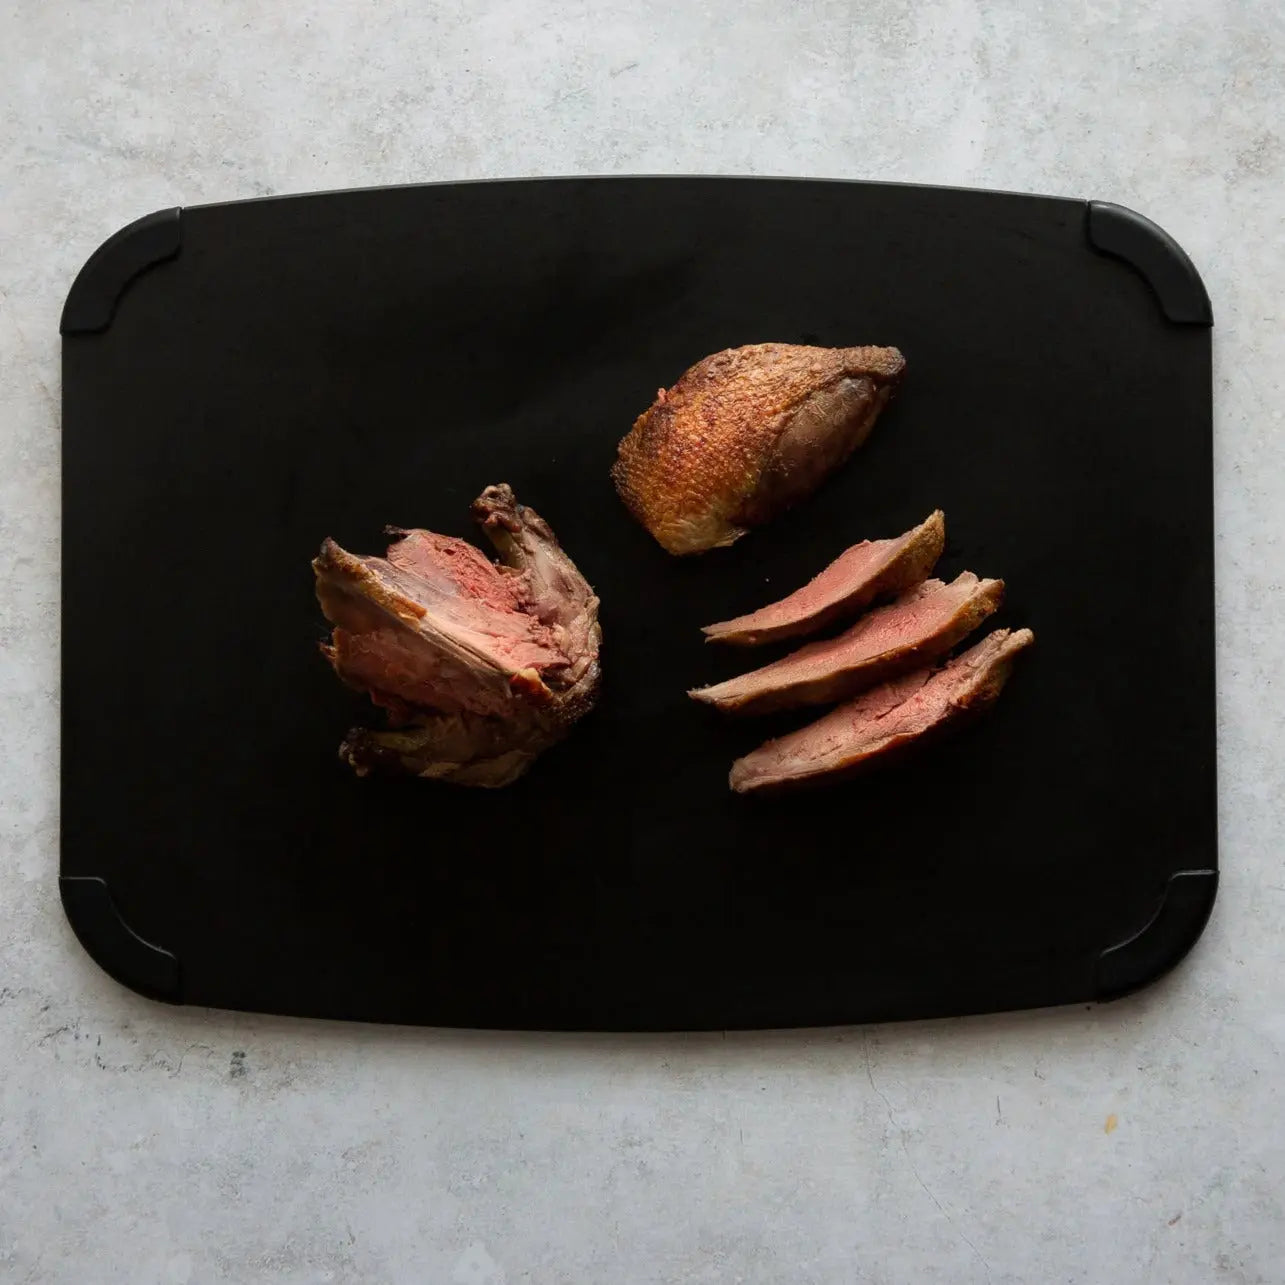
Heat a clean pan over medium heat. Follow the same pan-frying method used for the crown, but this time there's no need for oven cooking or resting. To check doneness, press the thickest part of the breast with your finger - when cooked, it should spring back. Serve the breasts whole, or remove the wing bone and slice down the middle for presentation. (image 2 on this blog).
LEG MEAT BALLOTINE
Cooking Time: 45 Minutes Prep Time: 5 Minutes Total Time: 1hr 20 minutes +overnight setting
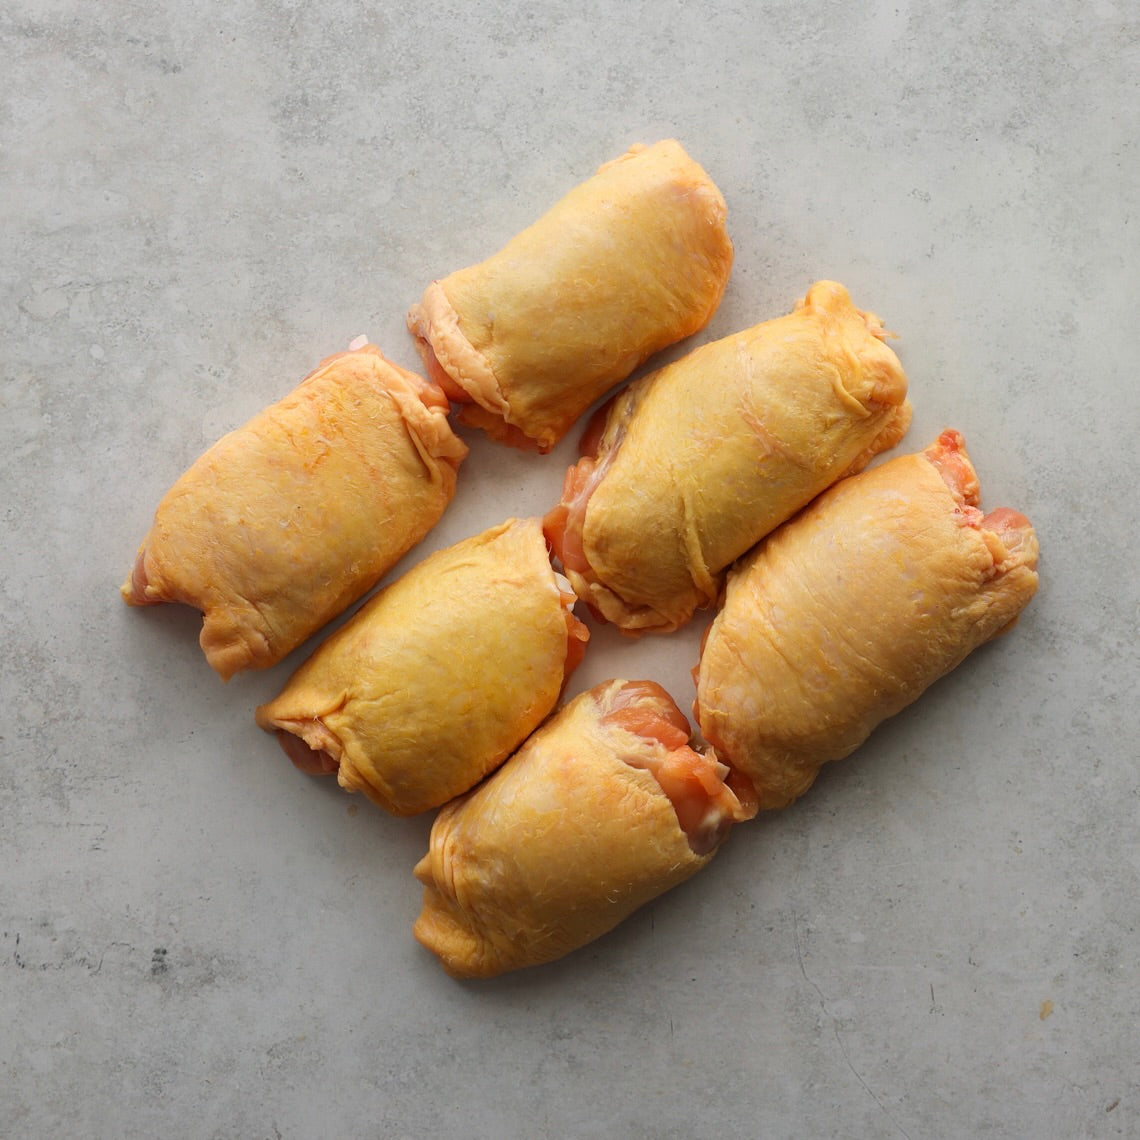
Ingredients: 2 x Landes Chicken Cuisse, 1 x Roscoff Onion, 1 x Thyme Sprig, 1 x Garlic Clove, 20g Chopped Fresh Parsley, Olive Oil
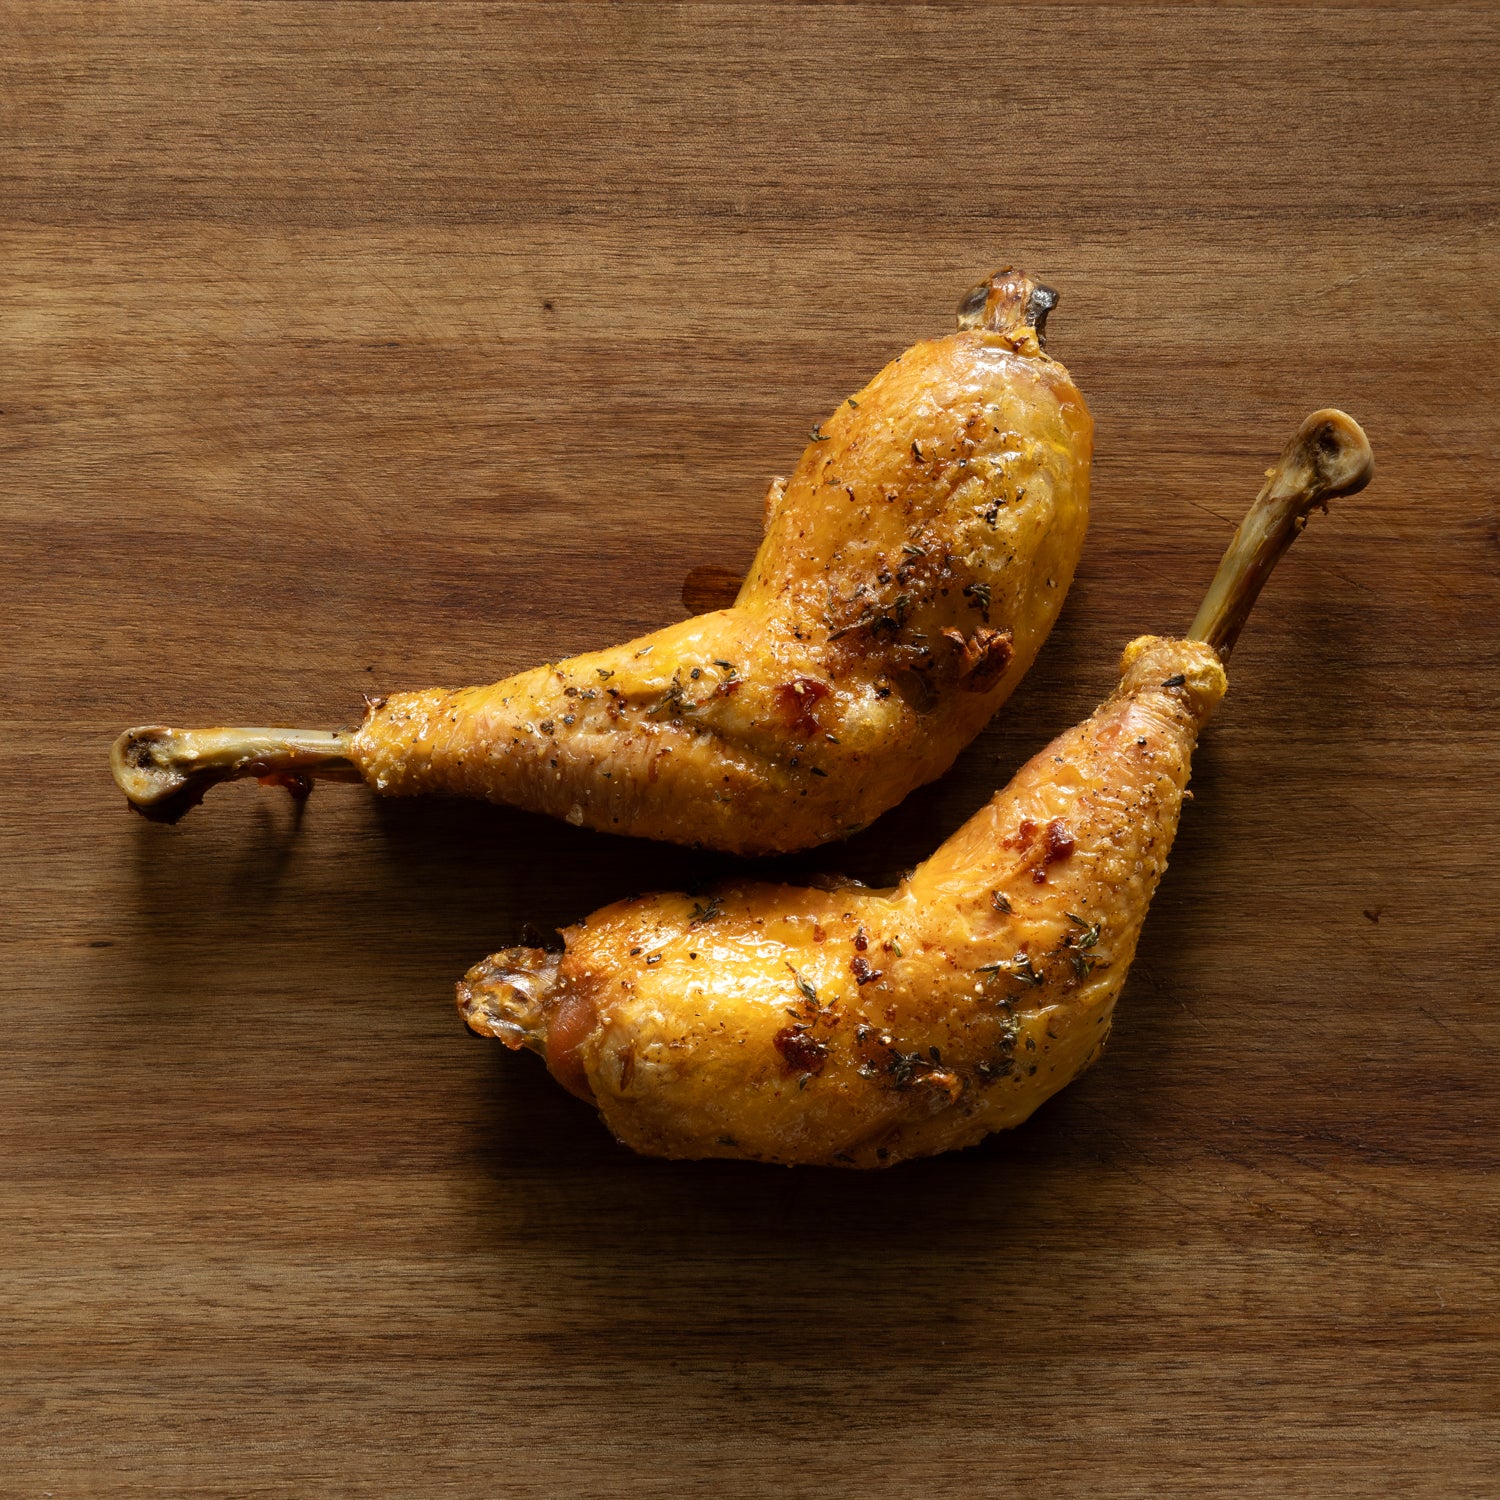
STEP ONE
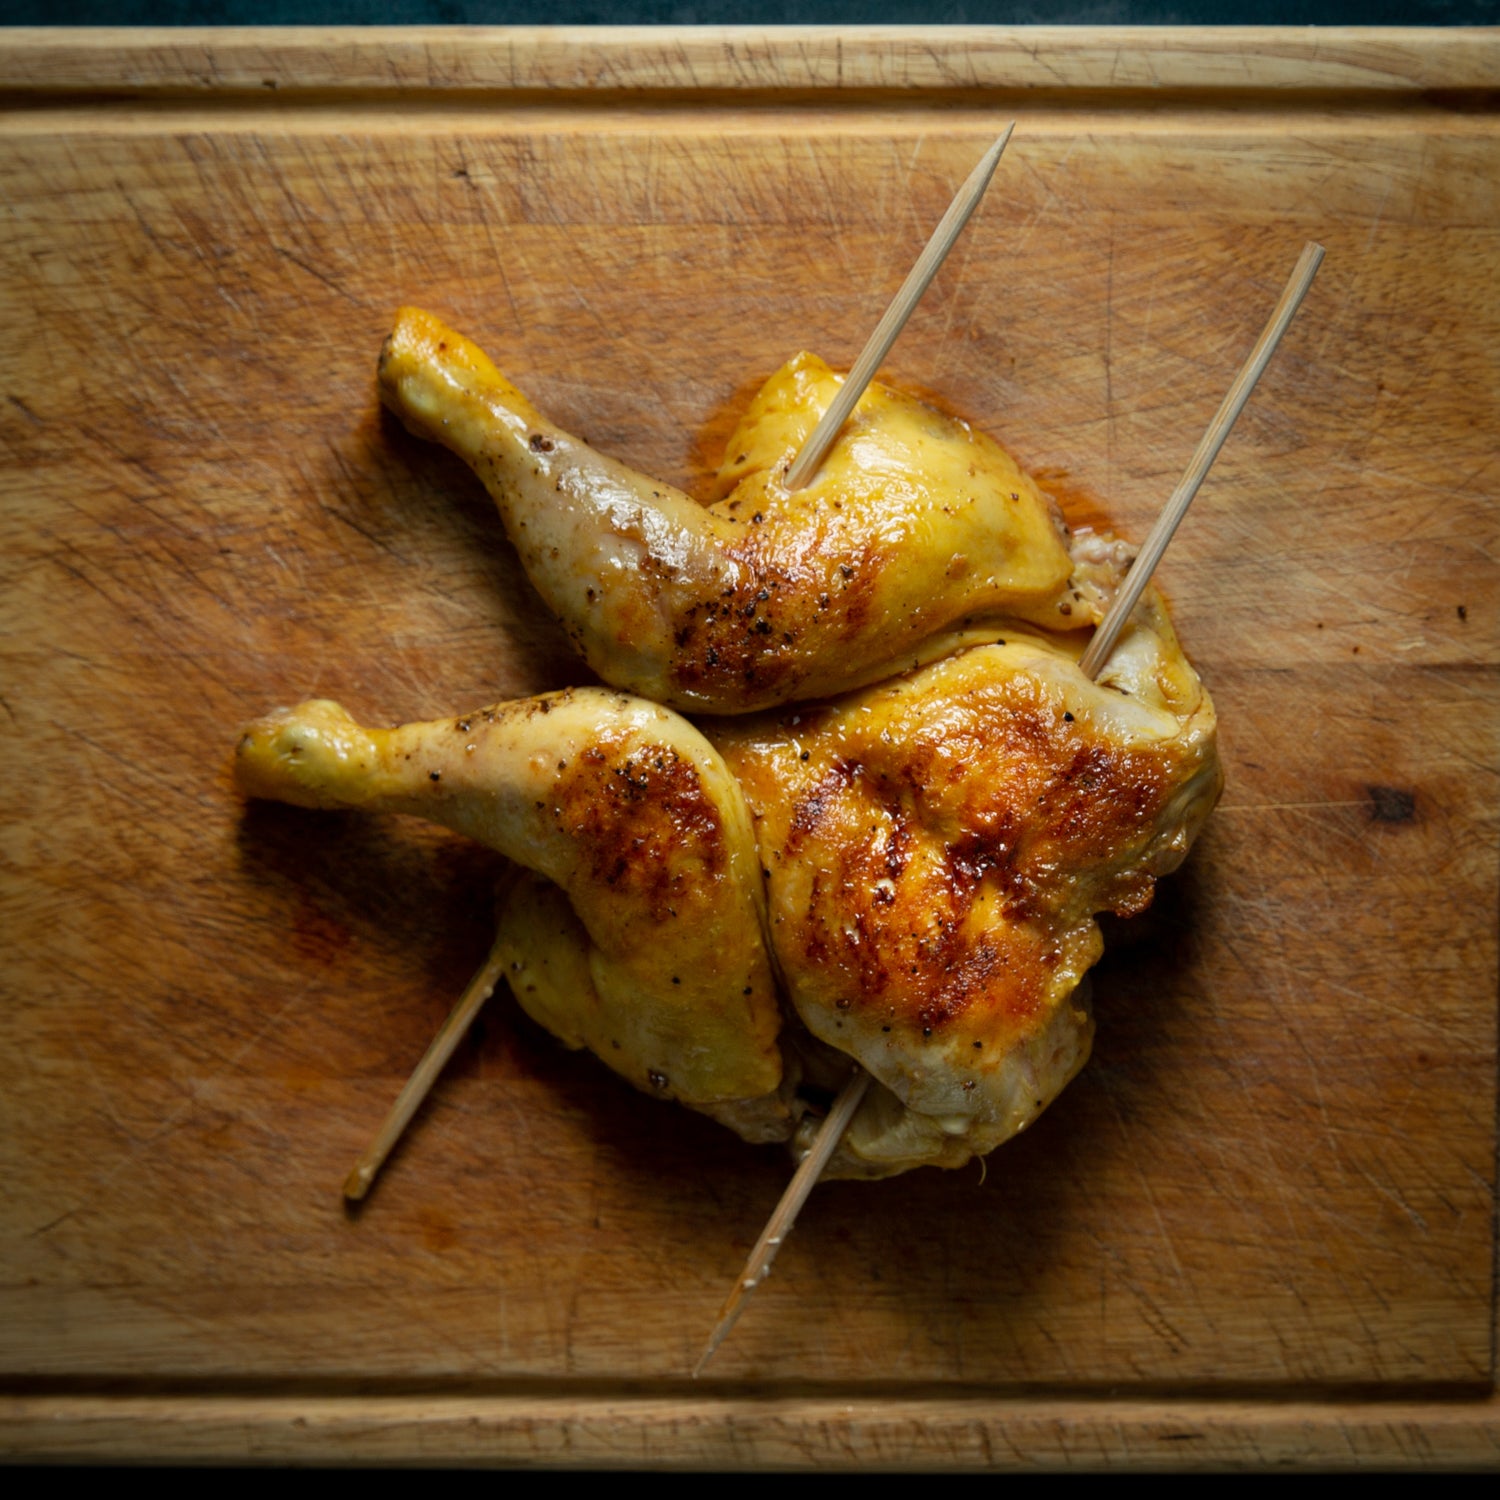
Season the chicken legs (cuisse) and place in an ovenproof dish along with half the thyme leaves. Cook uncovered at 180°C for 45 minutes.
The skin should be golden and crisp and the meat should easily pull away from the bone when done. Leave to cool for 30 minutes before handling.
Finely chop the onion (or 2 long shallots), remaining thyme leaves and garlic. Heat a splash of olive oil in a small saucepan, then gently cook these ingredients until the onion becomes soft and translucent.
Let the mixture cool in the pan, then chop the fresh parsley and add it to the mix.
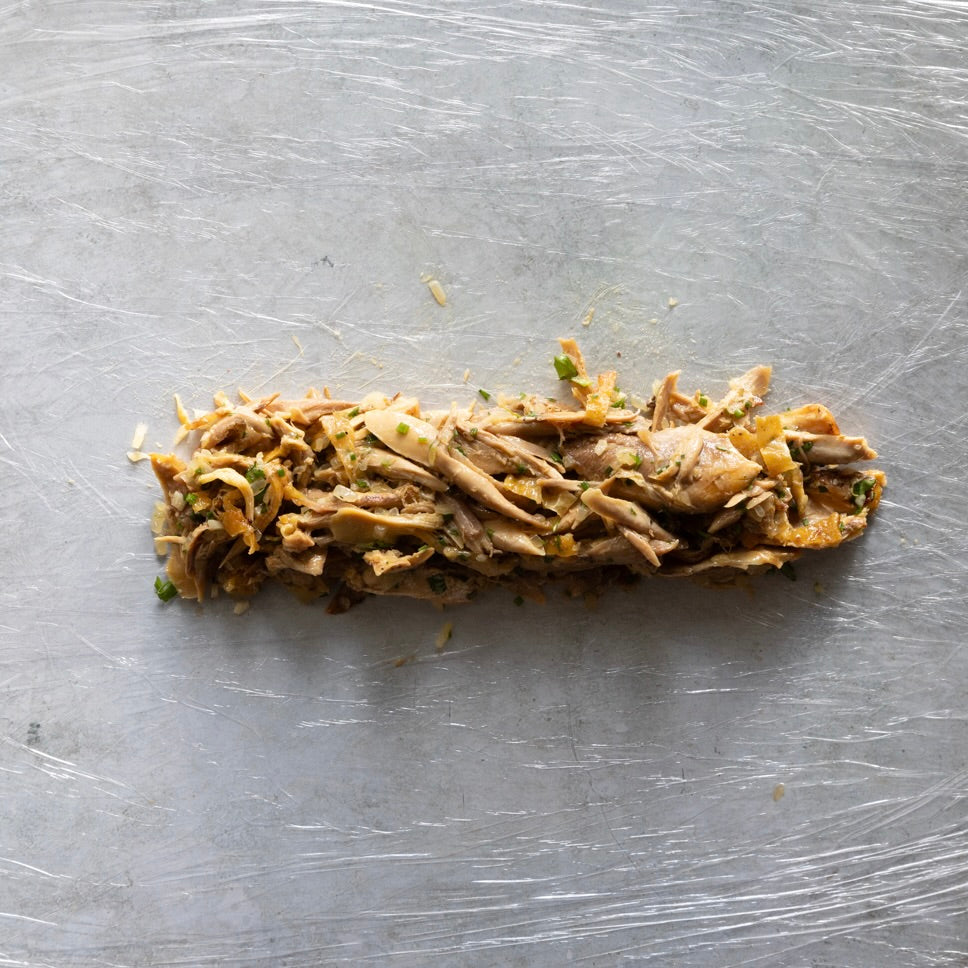
STEP TWO
While still warm, remove the skin from the legs and set aside. Pick all the meat off the bones and break any large pieces into smaller ones. Mix this meat with the cooled onion mixture. Chop the reserved skin and add it in. Keep the mixture warm, as it won't bind properly if cold. Check and adjust seasoning to taste.
Lay out three sheets of cling film on your work surface: one at the top, another overlapping halfway below it, and a final piece covering the middle. Smooth over with a cloth to remove any air bubbles.
Place the warm chicken mixture evenly along the centre of the middle piece of cling film.
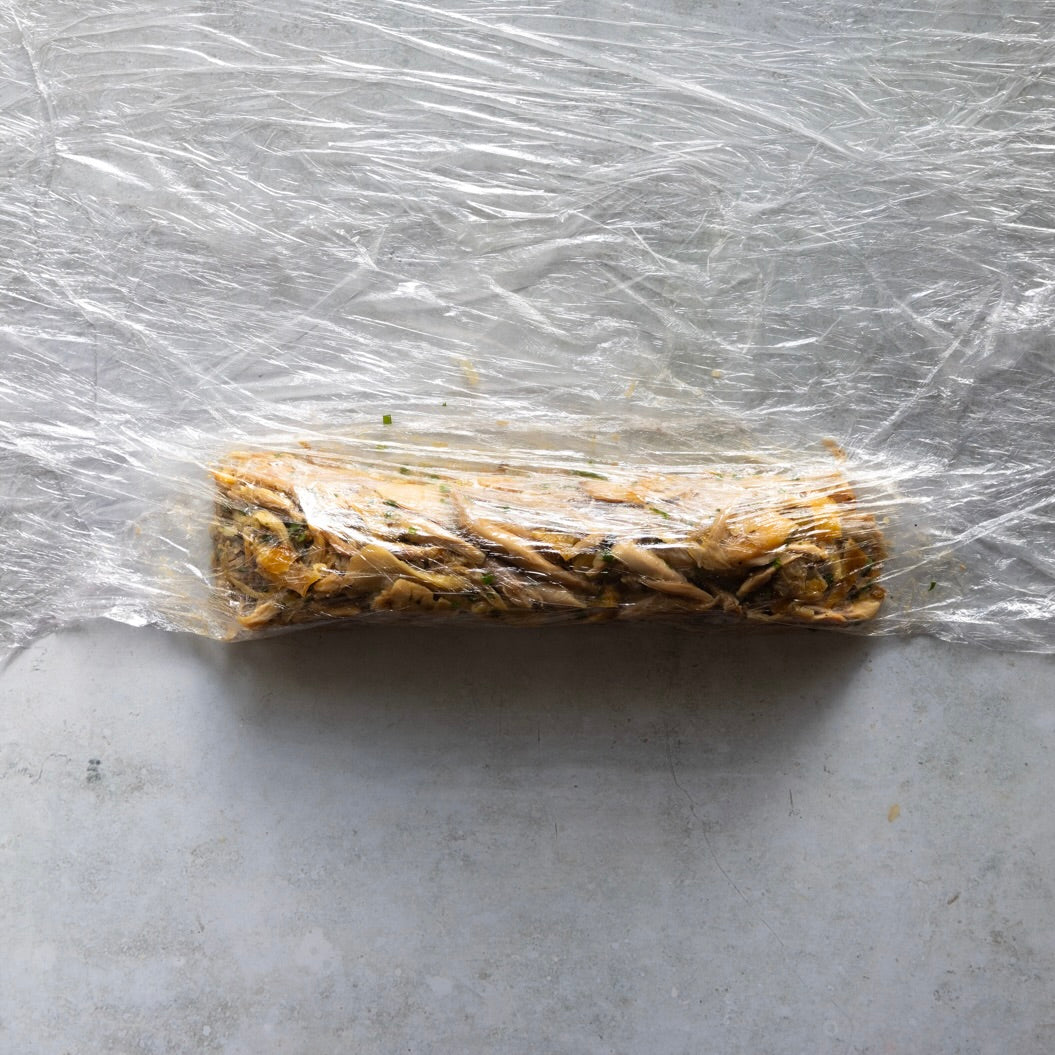
STEP THREE
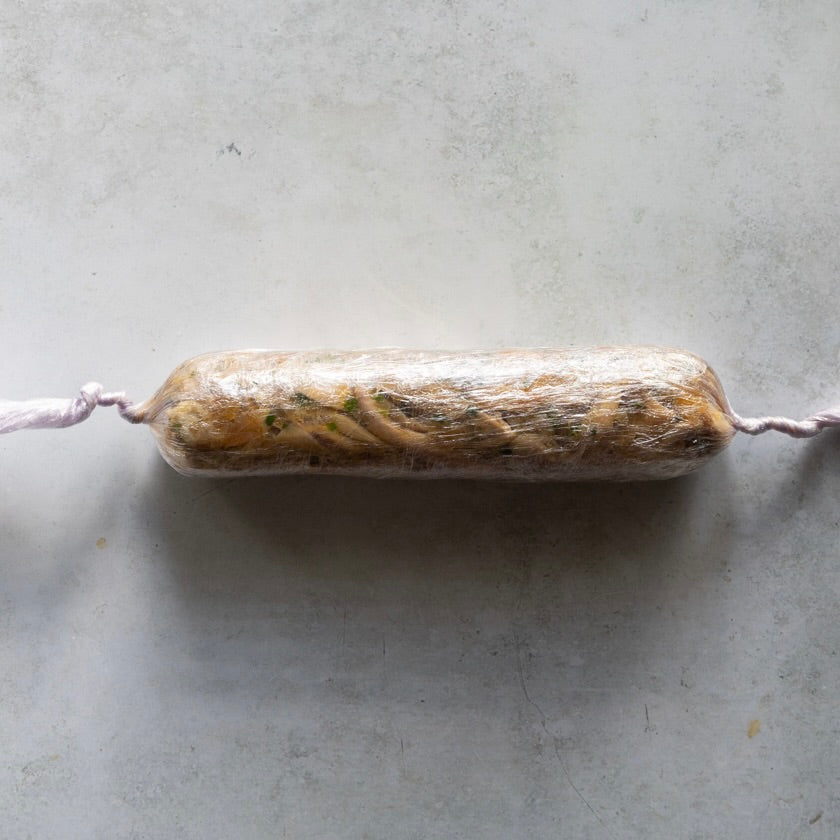
Lift the bottom section of cling film over the mixture and use your hands to shape it evenly.
Roll the mixture as you would sushi, pausing after each quarter turn to maintain a uniform shape. Watch the thickness - if the ballotine starts becoming too thin, use the sides of your hands to gently push inwards from each end..
STEP FOUR
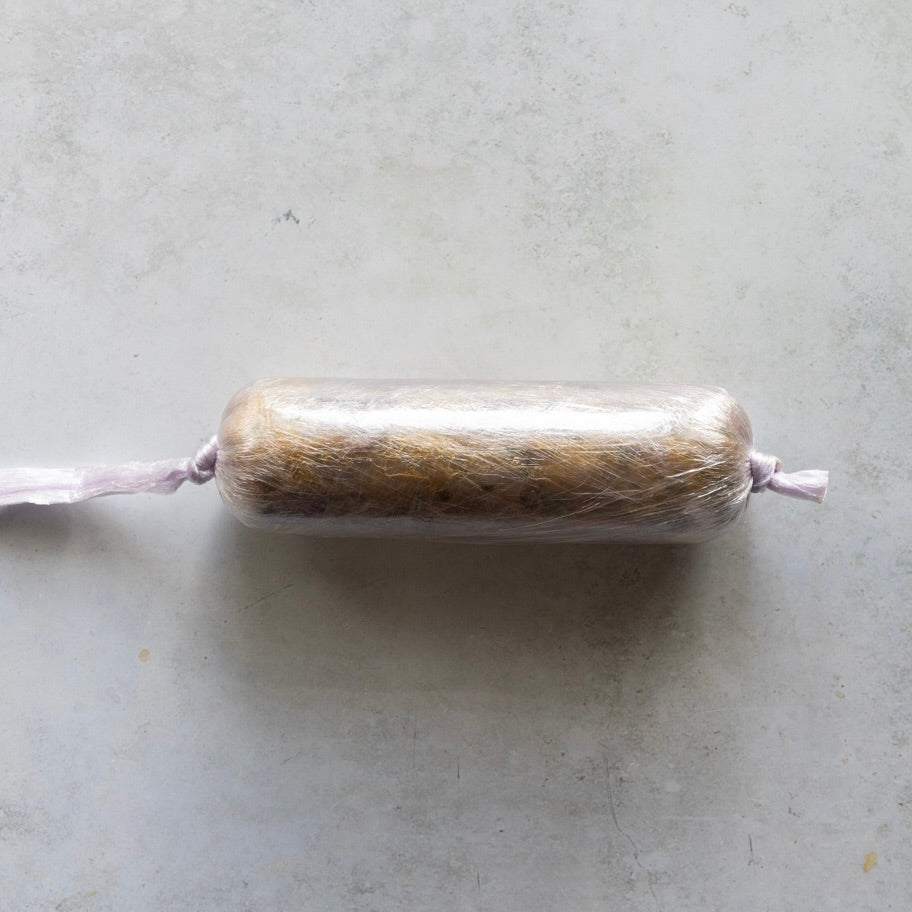
Once you have an even shape, complete rolling the ballotine by pinching the ends tightly. You'll notice air pockets - these can be released by making 3-4 small holes in the cling film.
Roll the ballotine again until you see juices escaping through these holes. You'll feel the ballotine becoming increasingly firm as you roll.
STEP FIVE
Lay out three fresh sheets of cling film. Cut off the ends of your first rolled ballotine and place it in the middle of these new sheets.
Roll again, this time focusing on creating very tight ends. Tie off one end first. For the final end, keep rolling the ballotine as you tie the knot - this helps achieve maximum tightness.
Leave in the fridge to set overnight.
It's worth noting that this method can be used for other poultry legs, most notably duck, and also works with slow braised lamb shoulder, and ham hocks.
STEP SIX
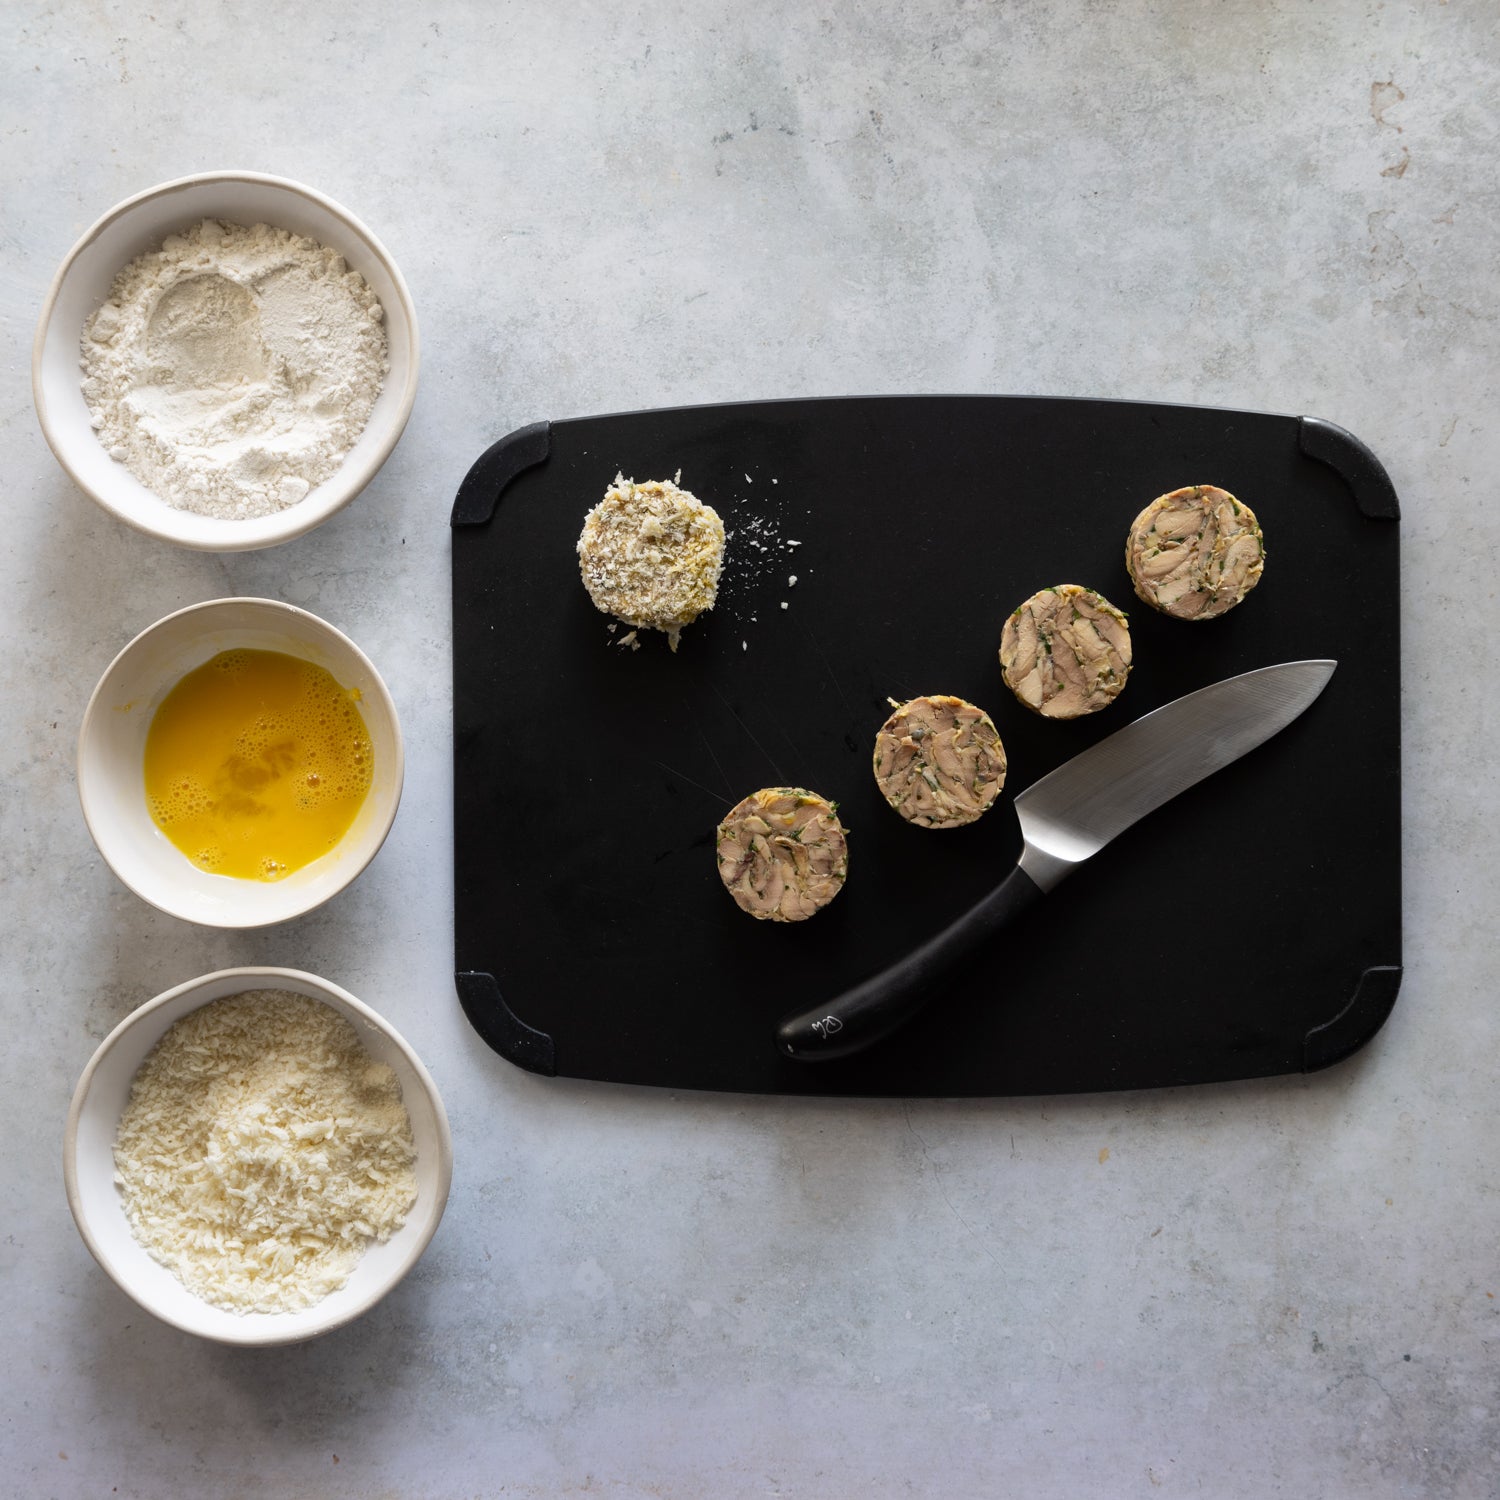
For a crispy garnish to accompany your roast chicken breast, the chilled ballotine can be sliced, crumbed and fried.
Remove the ballotine from the fridge and cut off the ends just below the knots. Slice through the cling film to create 1.5cm thick 'pucks'. Remove the cling film either with a small knife or by gently easing the meat out of the cling film rings.
Coat each slice first in plain flour, then beaten egg, and finally Japanese breadcrumbs. Chill for 10 minutes before cooking, or store for later use. They can be frozen at this stage if desired.
To cook, heat a generous amount of neutral oil in a saucepan to 160°C. Fry the croquettes until golden and serve straight away.
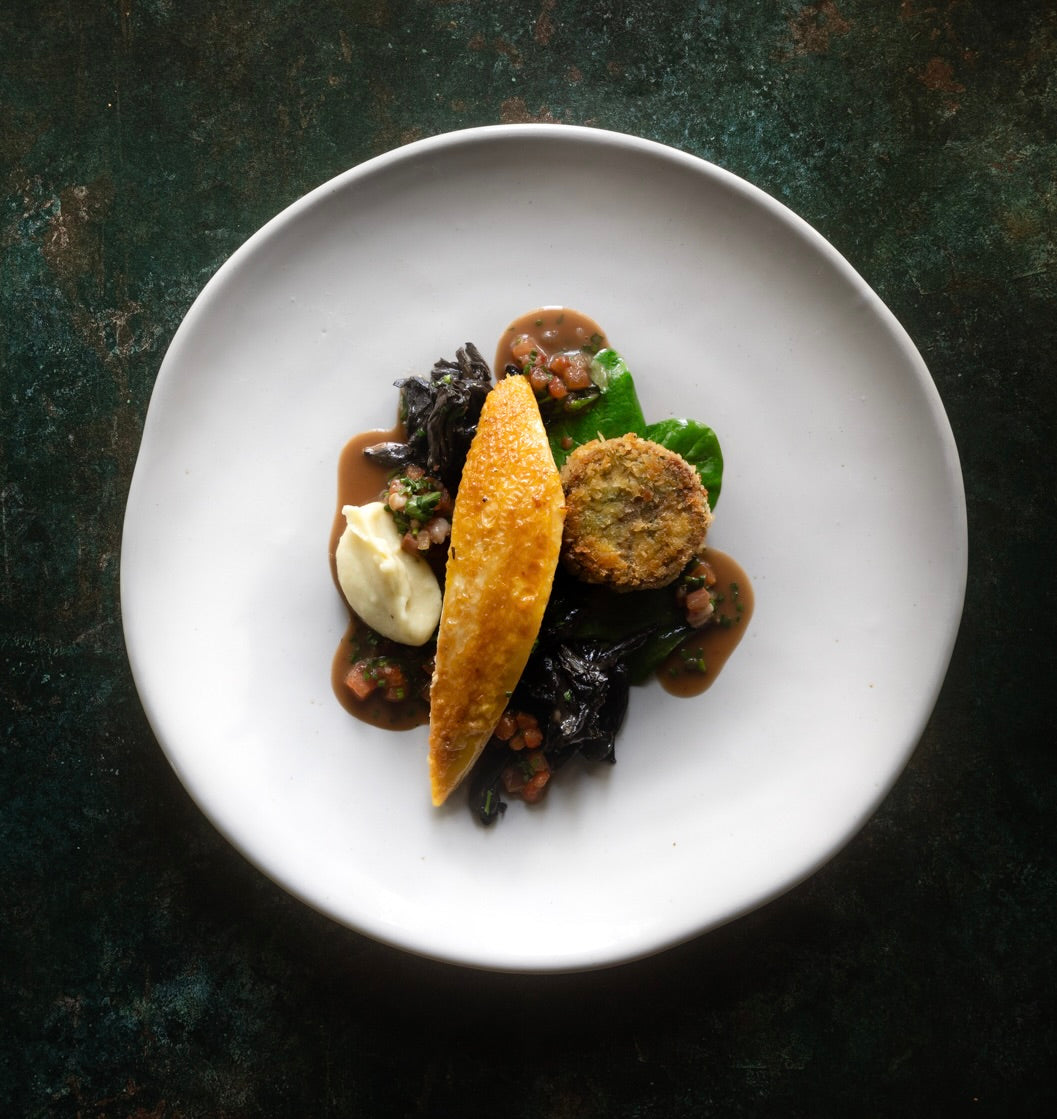
This versatile chicken can be elevated for fine dining or kept rustic. Here, we've paired the chicken with earthy trompette mushrooms and silky parsnip purée. The sauce combines our Salsus chicken demi-glace, smoked Alsace bacon, and finely diced fresh tomatoes into a rich, complex jus and served with the crispy leg meat croquette.


